
Advanced Exposure Techniques (Complete Guide 2026)
Getting the correct exposure is one of the most important skills in photography. While beginners learn the basics of Shutter Speed, Aperture, and ISO, professional photographers go a step further by using advanced exposure techniques to capture perfectly exposed images in challenging lighting conditions.
Whether you’re photographing a wedding, wildlife, landscapes, portraits, or night scenes, understanding advanced exposure techniques will help you achieve consistent, professional-quality results.
In this guide, you’ll learn:
- What advanced exposure means
- Exposure Triangle review
- Exposure Compensation
- Metering Modes
- Histogram
- Exposure Bracketing
- ETTR (Expose to the Right)
- Manual Exposure Techniques
- Common exposure mistakes
- Professional exposure tips
Let’s dive in.
What is Exposure in Photography?
Exposure refers to the amount of light that reaches your camera sensor.
A correctly exposed image has:
- Good highlight detail
- Clear shadow detail
- Balanced brightness
- Natural colours
An incorrect exposure may be:
- Overexposed (too bright)
- Underexposed (too dark)
Mastering exposure allows you to create photographs that look natural and professional.
Understanding the Exposure Triangle
Every exposure is controlled by three settings:
1. Aperture
Controls:
- Light entering the lens
- Depth of Field
- Background blur
Examples:
- f/1.8 → More light, shallow depth of field
- f/8 → Balanced sharpness
- f/16 → Less light, greater depth of field
2. Shutter Speed
Controls:
- Motion blur
- Freezing action
- Light entering the sensor
Examples:
- 1/2000 sec → Freezes fast action
- 1/250 sec → Everyday photography
- 1 second → Creative motion blur
- 30 seconds → Long exposure photography
3. ISO
Controls the camera sensor’s sensitivity to light.
Recommended:
- ISO 100–200 for bright daylight
- ISO 400–800 for cloudy conditions
- ISO 1600–3200 for low light (depending on your camera)
Always use the lowest ISO that provides the exposure you need to minimise noise.
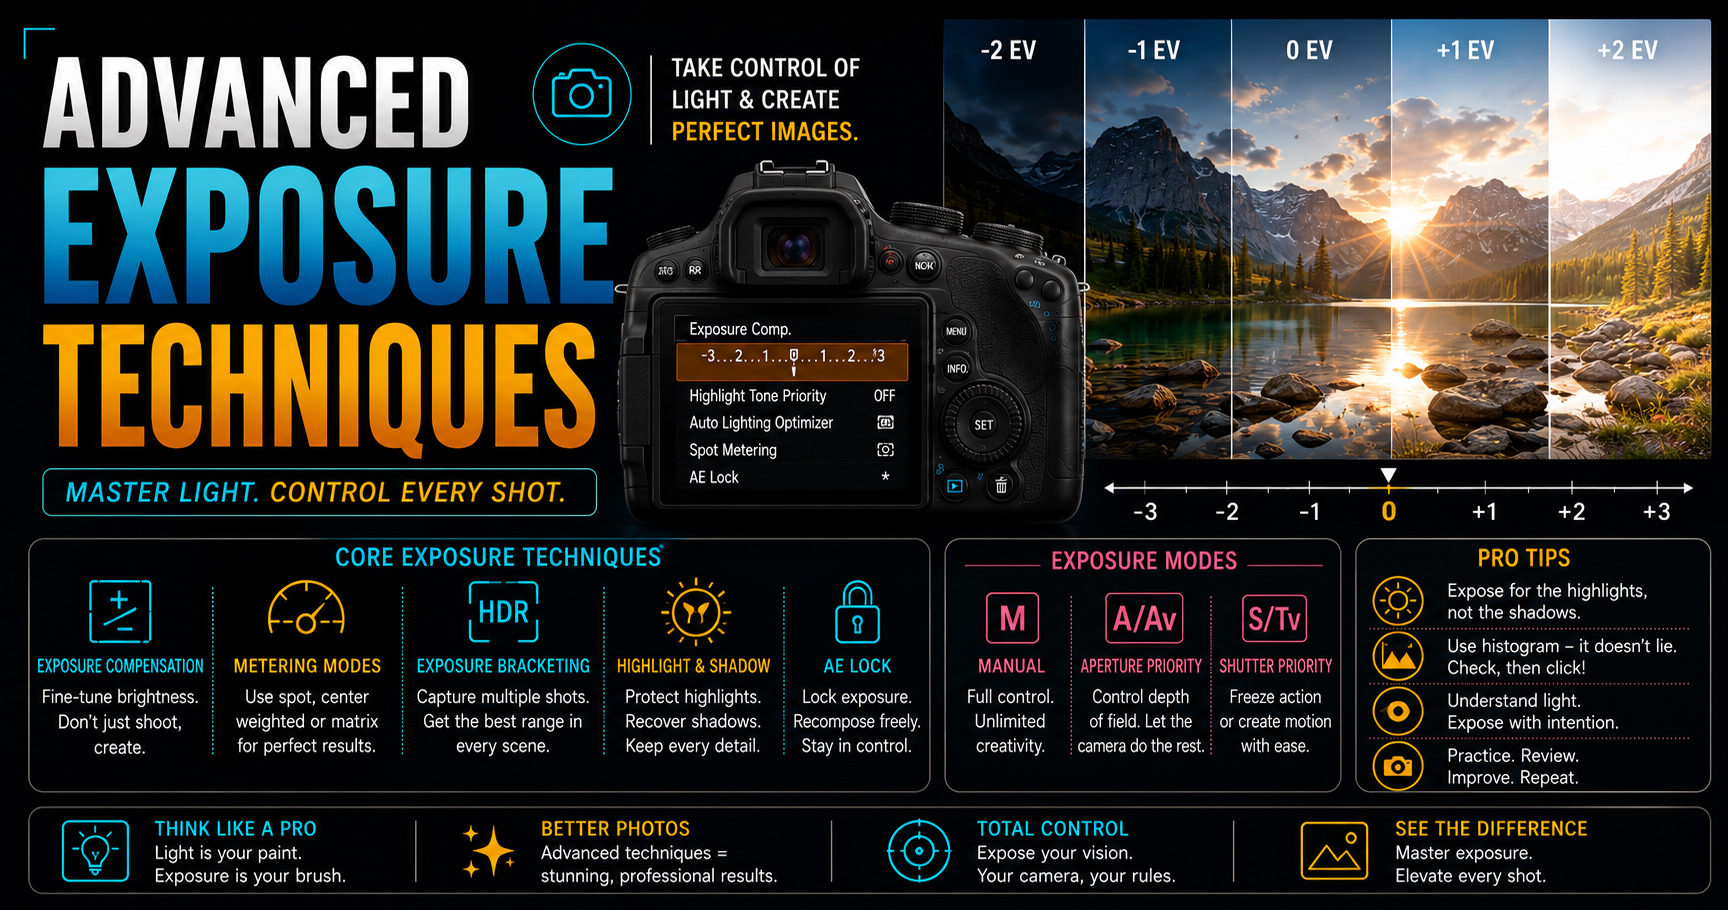
1. Exposure Compensation (±EV)
Exposure Compensation allows you to quickly brighten or darken a photo without leaving semi-automatic shooting modes like Aperture Priority or Shutter Priority.
Examples:
- +1 EV → Brighter image
- -1 EV → Darker image
When to Use It
- Bright snow scenes
- Beaches
- Dark clothing
- Backlit portraits
- Stage performances
- High-contrast lighting
Exposure Compensation helps the camera’s meter make better decisions in difficult lighting.
2. Metering Modes Explained
Your camera measures light using different metering modes.
Evaluative / Matrix Metering
- Best for most situations
- Balances exposure across the entire frame
Centre-Weighted Metering
- Prioritises the centre of the image
- Useful for portraits
Spot Metering
- Measures only a very small area
- Ideal for wildlife, concerts, moon photography, and strong backlighting
Choosing the right metering mode improves exposure accuracy.
3. Understand the Histogram
The Histogram is one of the most valuable tools for checking exposure.
Left Side
Represents shadows.
Middle
Represents midtones.
Right Side
Represents highlights.
A balanced histogram usually indicates a well-exposed image, although the ideal shape depends on the scene.
Avoid clipping important highlights or shadows unless it is an intentional creative choice.
4. Exposure Bracketing
Exposure Bracketing captures multiple images at different exposure levels.
Example:
- -2 EV
- 0 EV
- +2 EV
This is useful for:
- HDR Photography
- Landscape Photography
- Architecture
- Sunrise
- Sunset
- Interior Photography
Bracketing increases your chances of getting the perfect exposure.
Learn Professional Exposure Techniques Through Practical Training
Understanding exposure in theory is important, but mastering it requires practical experience in real shooting conditions.
At Sharanya Institute Of Photography, under the expert mentorship of Shrinivas Javanjal, students practise exposure techniques during portrait sessions, landscape photography, wildlife shoots, wedding events, studio lighting, and night photography assignments.
Our Online and Offline Diploma in Photography & Wedding Cinematography Courses provide hands-on training in Manual Mode, exposure control, metering, lighting, colour correction, editing, and professional workflows. If you dream of becoming a professional photographer, cinematographer, or editor, structured practical learning can accelerate your progress and prepare you for real-world projects.
5. Expose to the Right (ETTR)
ETTR (Expose to the Right) is an advanced technique where you expose an image as brightly as possible without clipping important highlights.
Benefits
- Lower image noise
- Cleaner shadows
- Better detail
- Improved editing flexibility
ETTR is especially useful when shooting in RAW.
6. Manual Exposure Lock
Professional photographers often:
- Set exposure manually.
- Lock the exposure.
- Keep it consistent across multiple images.
This is essential for:
- Weddings
- Events
- Panoramas
- Time-Lapse Photography
- Studio Photography
Consistent exposure makes editing much easier.
7. Use RAW for Better Exposure Recovery
RAW files retain significantly more information than JPEG files.
Advantages:
- Recover highlight details.
- Lift shadow detail.
- Better White Balance adjustment.
- Greater dynamic range.
- More editing flexibility.
Whenever possible, shoot in RAW for professional work.
8. Balance Exposure with Lighting
Exposure isn’t only controlled by camera settings.
Professional photographers also adjust:
- Natural light
- Reflectors
- Flash
- Continuous LED lights
- Softboxes
Combining lighting techniques with correct exposure produces better images.
Advanced Exposure in Different Photography Styles
Portrait Photography
- Protect skin highlights.
- Use spot or centre-weighted metering.
- Check the histogram after important shots.
Landscape Photography
- Use Manual Mode.
- Shoot in RAW.
- Consider exposure bracketing for high-contrast scenes.
Wildlife Photography
- Use fast shutter speeds.
- Monitor exposure carefully when subjects move between light and shade.
Wedding Photography
- Lock exposure during ceremonies when lighting is consistent.
- Adjust quickly if the lighting changes dramatically.
Night Photography
- Use Manual Mode.
- Keep ISO as low as practical.
- Review the histogram to avoid losing highlight detail in bright lights.
Common Exposure Mistakes
Avoid these beginner mistakes:
- Trusting Auto Mode in every situation.
- Ignoring the histogram.
- Using the wrong metering mode.
- Forgetting Exposure Compensation.
- Shooting only in JPEG.
- Raising ISO unnecessarily.
- Overexposing bright skies.
Recognising these issues will improve your consistency.
Professional Exposure Tips
- Learn to read the light before adjusting your camera.
- Shoot in Manual Mode whenever practical.
- Use the histogram instead of relying only on the LCD screen.
- Practise Exposure Compensation regularly.
- Learn every metering mode.
- Review your images and adjust settings as lighting changes.
- Shoot in RAW for maximum editing flexibility.
Frequently Asked Questions (FAQs)
What is the best exposure mode for professionals?
Many professionals prefer Manual Mode because it provides complete control and consistent results.
What is Exposure Compensation?
Exposure Compensation allows you to make an image brighter or darker while using semi-automatic shooting modes.
Should beginners use the histogram?
Yes. Learning to read the histogram early helps improve exposure accuracy and reduces mistakes.
Why do professionals shoot in RAW?
RAW files preserve more image data, making it easier to recover highlights, adjust shadows, and fine-tune colours.
Is Exposure Bracketing useful?
Yes. It is particularly valuable for landscapes, HDR photography, interiors, and scenes with a wide dynamic range.
Final Thoughts
Mastering advanced exposure techniques is one of the biggest steps towards becoming a confident photographer. Understanding Exposure Compensation, metering modes, histograms, bracketing, ETTR, and Manual Mode allows you to handle challenging lighting situations with precision and creativity.
The best way to improve is through regular practice in different lighting conditions. Analyse your images, study your histogram, and refine your settings after every shoot. Over time, exposure control will become second nature.
If you’re serious about becoming a professional photographer, cinematographer, or editor, Sharanya Institute OfPhotography offers Online and Offline Diploma in Photography & Wedding Cinematography Courses under the guidance of Shrinivas Javanjal. Through live projects, studio training, outdoor shoots, editing workshops, and personalised mentoring, you’ll develop the technical skills and creative confidence needed for a successful career in photography and cinematography.
Tags:
You May Also Like
-
Jul 24, 2026
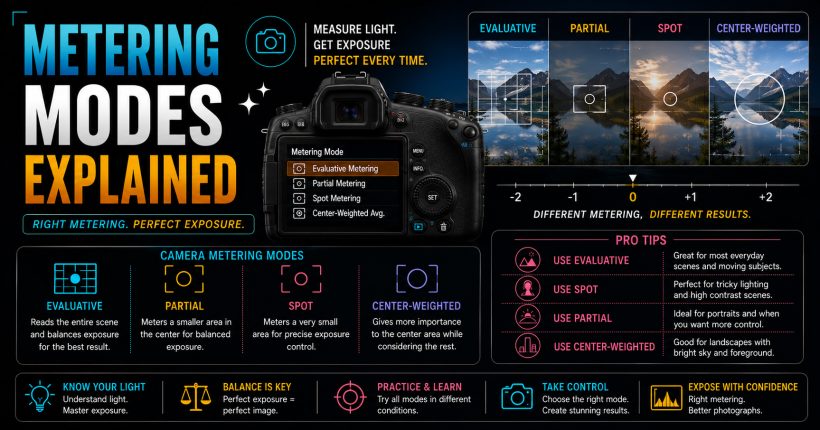
Learn camera metering modes, exposure measurement, and professional techniques to capture perfectly exposed photographs in every lighting condition with confidence.
-
Jul 24, 2026
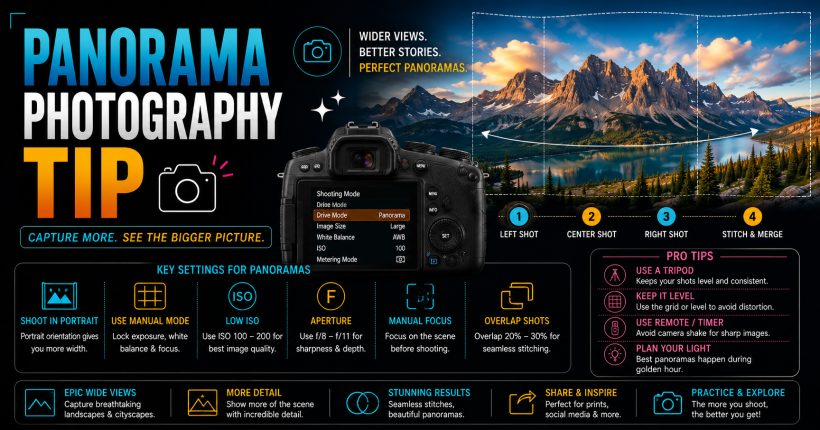
Learn panorama photography with simple camera settings, stitching techniques, and professional tips to capture breathtaking wide-angle landscapes and cityscapes effortlessly.
-
Jul 24, 2026
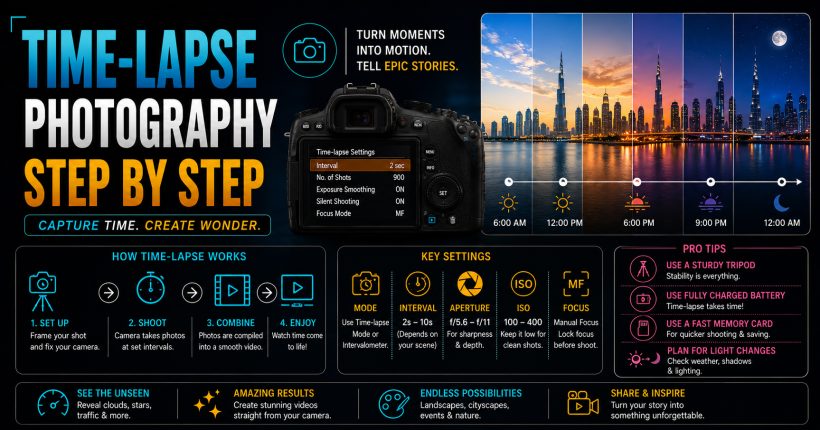
Learn time-lapse photography with simple camera settings, interval techniques, editing workflow, and expert tips for creating stunning cinematic videos effortlessly.
-
Jul 24, 2026
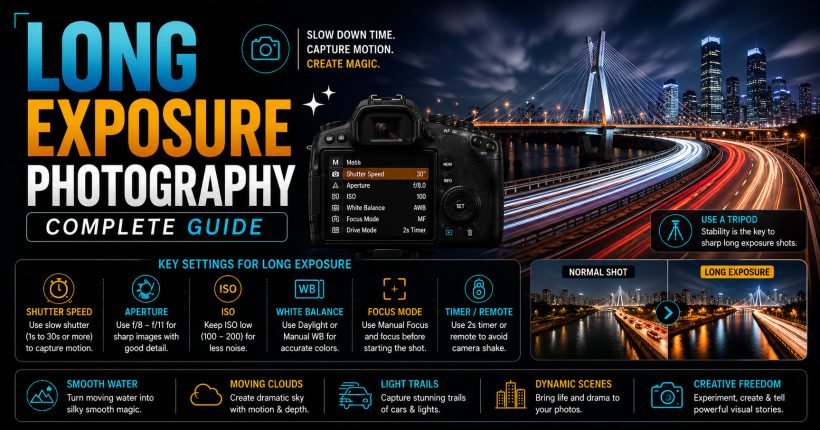
Master long exposure photography using slow shutter speeds, ND filters, and expert camera settings to capture creative, professional-quality images effortlessly.
Sign up to receive our latest updates
Get in touch
Call us directly?
+91 9769533675
Address
Office No 9, First floor, Sudama Tower, Kasturi Plaza, Dombivli (E)
support@photovideocourse.com
Popular Courses

- © 2026 Sharanya Institute Of Photography All rights reserved.