
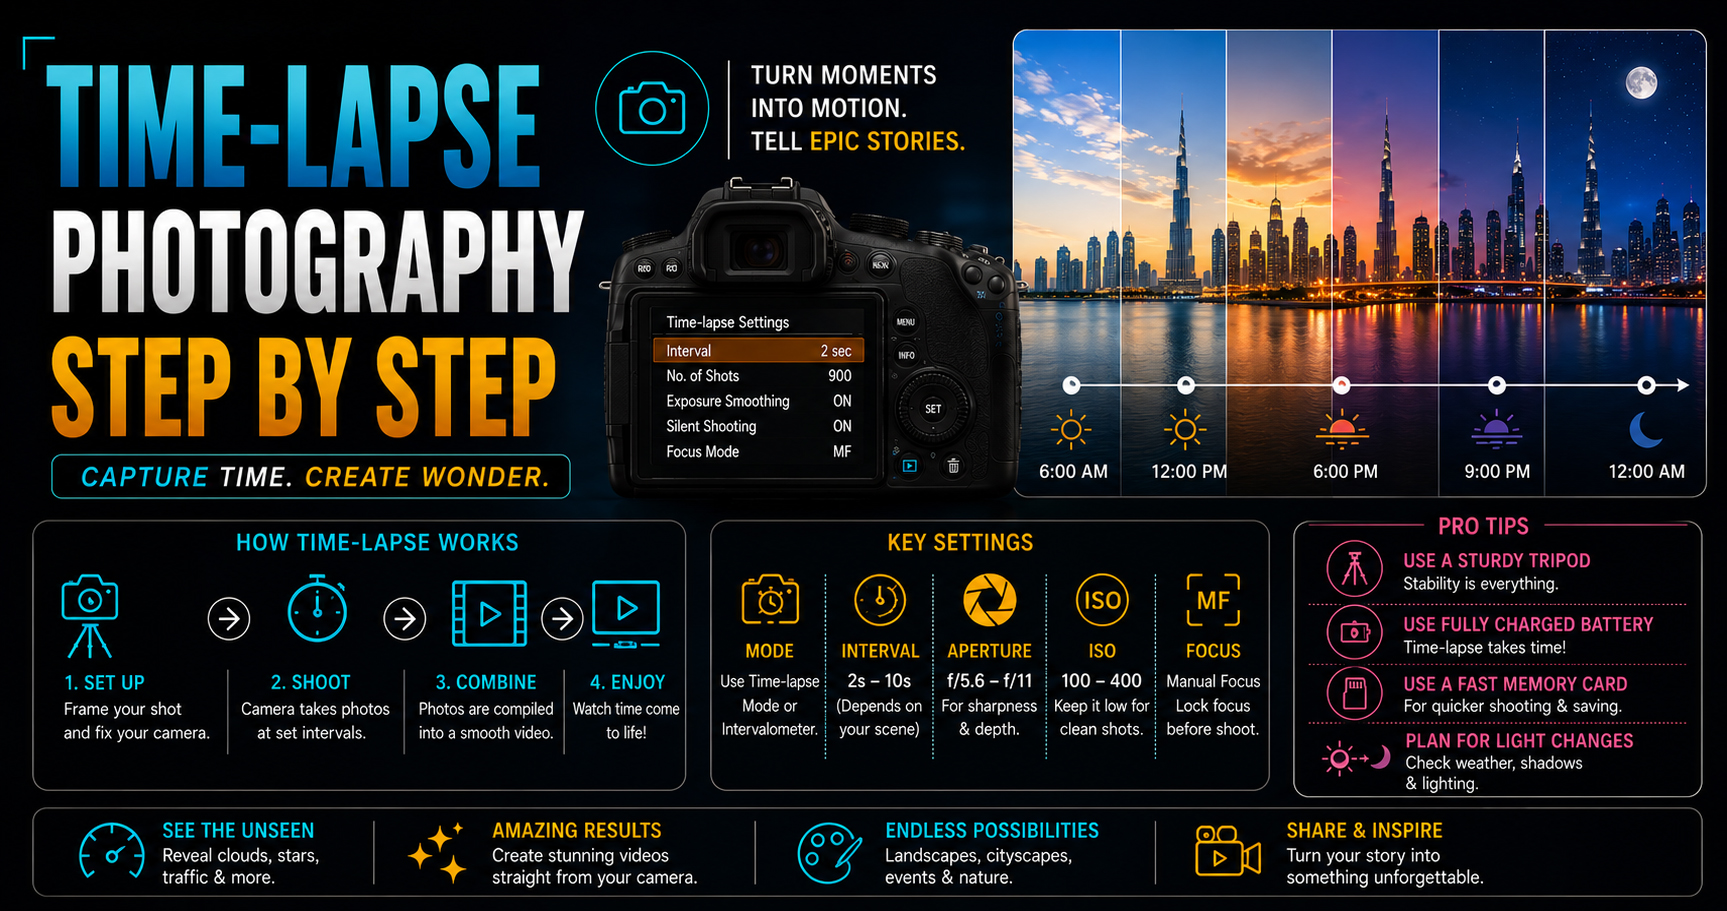
Time-Lapse Photography Step by Step (Complete Guide 2026)
Have you ever watched a video where clouds race across the sky, flowers bloom in seconds, busy streets come alive, or the sun appears to rise in just a few moments? That’s the magic of Time-Lapse Photography.
Time-lapse photography captures a series of still photos at fixed intervals and combines them into a video. When played back at normal speed, time appears to move much faster, creating a dramatic and cinematic effect.
The good news is that you don’t need expensive equipment to get started. With a DSLR or mirrorless camera, a tripod, and the right settings, you can create professional-quality time-lapse videos.
In this complete guide, you’ll learn:
- What time-lapse photography is
- How it works
- Best camera settings
- Interval shooting techniques
- Equipment you’ll need
- Editing workflow
- Common mistakes to avoid
- Professional tips for stunning results
Let’s get started.
What is Time-Lapse Photography?
Time-lapse photography is a technique where a camera captures photos at regular intervals over a period of time. These images are then combined into a video.
For example:
- Take one photo every 5 seconds.
- Continue shooting for 30 minutes.
- Combine all the images.
- Play the sequence at 24 or 30 frames per second.
The result is a smooth video showing time moving much faster than we normally see.
How Does Time-Lapse Photography Work?
Instead of recording continuous video, the camera captures individual photographs.
Example:
- Shooting Duration: 30 minutes
- Interval: 5 seconds
- Total Photos: 360
When these 360 photos are played at 30 frames per second, they create a 12-second time-lapse video.
This method produces high-quality footage because every frame is a full-resolution photograph.
Best Subjects for Time-Lapse Photography
Time-lapse works best with subjects that change gradually.
Popular subjects include:
- Sunrise
- Sunset
- Moving clouds
- City traffic
- Star movement
- Moonrise
- Construction projects
- Flowers blooming
- Crowd movement
- Beach waves
- Festivals
- Night city lights
Choose a subject with visible movement to create an engaging final video.
Essential Equipment
1. Camera
Any DSLR or mirrorless camera with interval shooting or an external intervalometer will work.
2. Tripod
A sturdy tripod is essential to keep the camera perfectly still throughout the entire sequence.
3. Intervalometer
Many modern cameras include a built-in interval timer. If yours doesn’t, an external intervalometer is a useful accessory.
4. Extra Batteries
Long time-lapse sessions can drain batteries quickly, so carry fully charged spares or use an external power source.
5. High-Capacity Memory Card
Time-lapse photography can generate hundreds or thousands of images, so use a fast, high-capacity memory card.
Learn Time-Lapse Photography Through Practical Experience
Creating a smooth time-lapse is about more than pressing the shutter button. It requires planning, camera setup, composition, exposure control, and post-production skills.
At Sharanya Institute Of Photography, under the expert guidance of Shrinivas Javanjal, students learn professional time-lapse photography through outdoor shoots, sunrise and sunset sessions, cityscape projects, wedding cinematography assignments, and advanced editing workshops.
Our Online and Offline Diploma in Photography & Wedding Cinematography Courses provide practical training in photography, cinematography, camera settings, lighting, editing, colour grading, and storytelling. If your dream is to become a professional photographer, cinematographer, or editor, this hands-on learning experience can help you build industry-ready skills.
Best Camera Settings for Time-Lapse Photography
Shooting Mode
Use Manual Mode (M).
Manual settings prevent brightness changes between frames.
Image Format
Always shoot in RAW whenever possible.
RAW files provide greater flexibility for colour correction and exposure adjustments.
ISO
Use the lowest ISO possible.
Recommended:
- ISO 100
- ISO 200
This minimises digital noise.
Aperture
For landscapes:
- f/8
- f/11
For shallow depth of field:
- f/2.8
- f/4
Shutter Speed
Adjust according to lighting.
Examples:
- Daylight: 1/125 sec
- Sunset: 1/30 sec
- Night: Several seconds (depending on the scene)
White Balance
Use Manual White Balance.
Avoid Auto White Balance because it can cause colour shifts between frames.
Focus
Switch to Manual Focus after focusing correctly.
This prevents the camera from refocusing during the sequence.
Choosing the Right Interval
Your interval depends on the subject.
| Subject | Recommended Interval |
|---|---|
| Fast Traffic | 1–2 seconds |
| People Walking | 2–3 seconds |
| Clouds | 3–10 seconds |
| Sunset | 5–10 seconds |
| Sunrise | 5–10 seconds |
| Construction | 30 seconds–5 minutes |
| Flowers Blooming | 5–30 minutes |
| Stars | 15–30 seconds |
Choosing the correct interval is one of the most important parts of successful time-lapse photography.
How Many Photos Do You Need?
A simple formula:
Video Length × Frame Rate = Number of Photos
Example:
- Desired Video: 15 seconds
- Frame Rate: 30 fps
15 × 30 = 450 photos
Planning this in advance helps estimate shooting time and storage requirements.
Editing Your Time-Lapse
Popular editing software includes:
- Adobe Lightroom
- Adobe After Effects
- Adobe Premiere Pro
- DaVinci Resolve
- LRTimelapse
Typical workflow:
- Import RAW images.
- Edit one image.
- Synchronise settings across all photos.
- Export the sequence.
- Assemble the images into a video.
- Add music and final colour grading if required.
Common Beginner Mistakes
Avoid these mistakes:
- Shooting handheld.
- Using Auto Mode.
- Leaving Auto White Balance enabled.
- Forgetting to lock focus.
- Running out of battery.
- Filling the memory card.
- Choosing an unsuitable interval.
- Touching the tripod during the shoot.
Careful preparation leads to smoother results.
Professional Time-Lapse Tips
- Visit your location before shooting.
- Check the weather forecast.
- Shoot during Golden Hour or Blue Hour for dramatic light.
- Use Manual Exposure whenever possible.
- Clean your lens before starting.
- Carry spare batteries and memory cards.
- Be patient—great time-lapses often require long waiting periods.
Creative Time-Lapse Ideas
Try filming:
- Sunrise over mountains
- Sunset at the beach
- Moving clouds
- Busy city intersections
- Night traffic
- Temple festivals
- Wedding venue setup
- Construction sites
- Rain approaching
- Star movement
- Milky Way
- Blooming flowers
These subjects create visually impressive time-lapse videos.
Frequently Asked Questions (FAQs)
What is time-lapse photography?
Time-lapse photography is the process of capturing still images at regular intervals and combining them into a video that speeds up time.
Can beginners shoot time-lapse?
Yes. With a tripod, Manual Mode, and an interval timer, beginners can create excellent time-lapse videos.
Do I need an intervalometer?
Many modern cameras include a built-in interval timer. If not, an external intervalometer is recommended.
Should I shoot RAW or JPEG?
RAW is recommended because it offers greater flexibility during editing and colour correction.
Which camera is best for time-lapse?
Any DSLR or mirrorless camera with manual controls and interval shooting capability is suitable.
Final Thoughts
Time-lapse photography transforms slow-moving scenes into exciting, cinematic videos that capture the passage of time in a unique way. By understanding intervals, camera settings, composition, and editing, you can create professional-looking projects that stand out.
Start with simple subjects such as moving clouds or sunsets, practise consistently, and refine your workflow with each shoot. Over time, you’ll develop both the technical skills and creative vision needed for outstanding time-lapse photography.
If you’re serious about becoming a professional photographer, cinematographer, or editor, Sharanya Institute Of Photography offers Online and Offline Diploma in Photography & Wedding Cinematography Courses under the mentorship of Shrinivas Javanjal. Through practical assignments, outdoor shoots, studio sessions, editing workshops, and real-world projects, you’ll master photography, cinematography, time-lapse creation, and advanced visual storytelling.
Tags:
You May Also Like
-
Jul 24, 2026
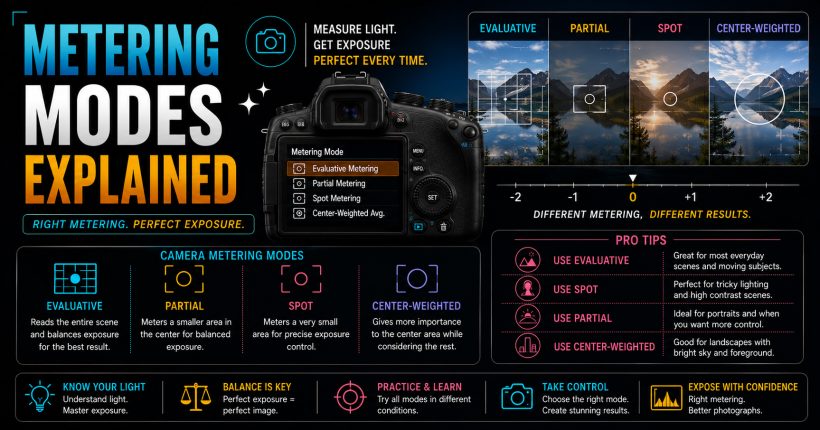
Learn camera metering modes, exposure measurement, and professional techniques to capture perfectly exposed photographs in every lighting condition with confidence.
-
Jul 24, 2026
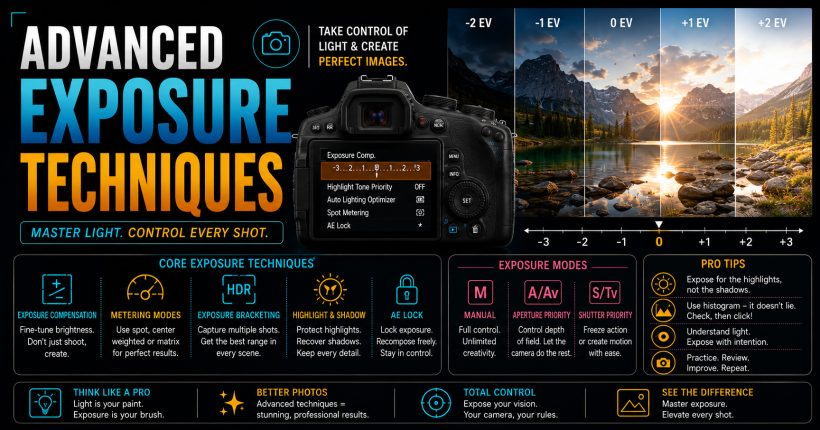
Master advanced exposure techniques using histograms, metering, exposure compensation, and bracketing to capture perfectly exposed professional-quality photographs every time.
-
Jul 24, 2026
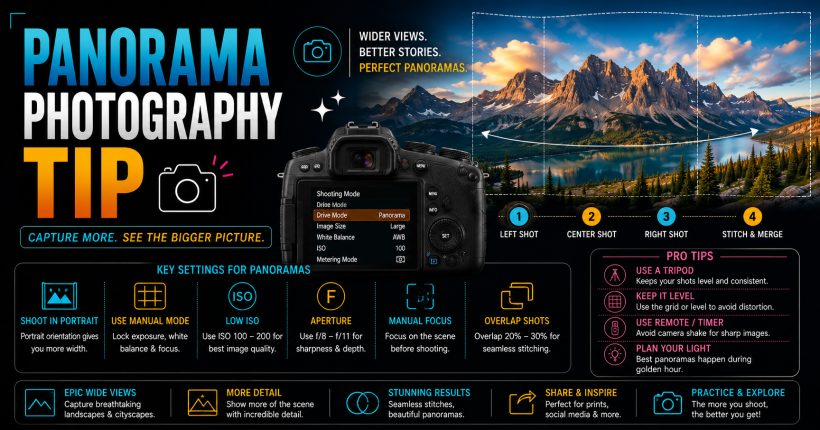
Learn panorama photography with simple camera settings, stitching techniques, and professional tips to capture breathtaking wide-angle landscapes and cityscapes effortlessly.
-
Jul 24, 2026
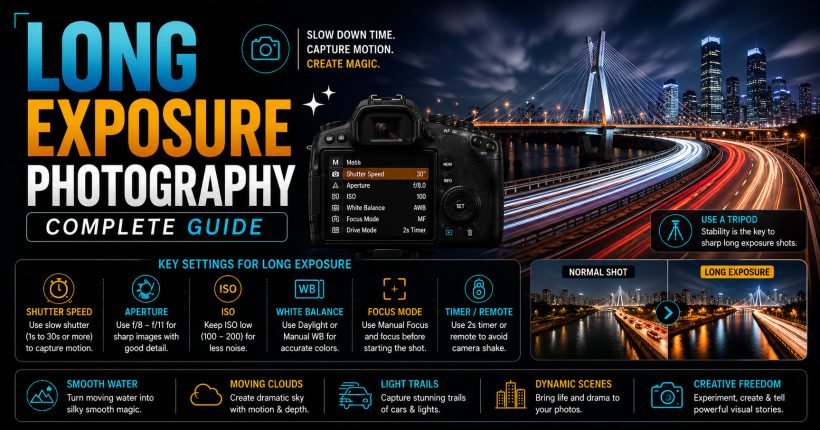
Master long exposure photography using slow shutter speeds, ND filters, and expert camera settings to capture creative, professional-quality images effortlessly.
Sign up to receive our latest updates
Get in touch
Call us directly?
+91 9769533675
Address
Office No 9, First floor, Sudama Tower, Kasturi Plaza, Dombivli (E)
support@photovideocourse.com
Popular Courses

- © 2026 Sharanya Institute Of Photography All rights reserved.