
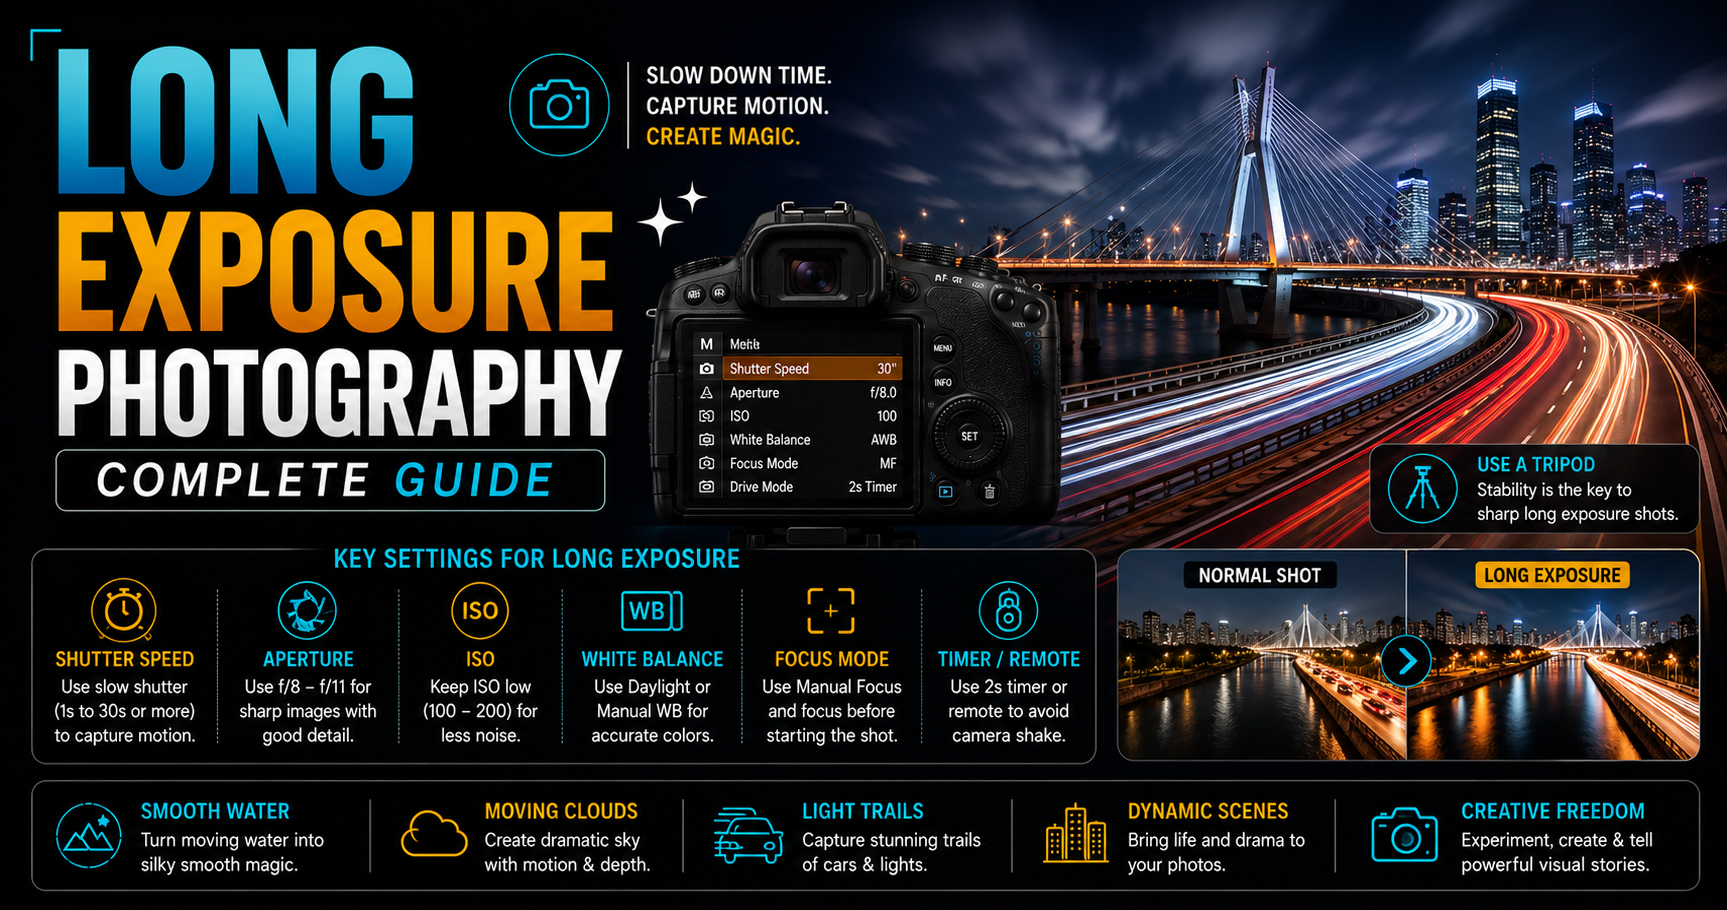
Long Exposure Photography Complete Guide (2026)
Have you ever wondered how photographers create silky waterfalls, smooth ocean waves, colorful light trails, or stunning star trails? The secret is Long Exposure Photography.
Long exposure photography uses a slow shutter speed to capture movement over time. Instead of freezing motion, it records movement creatively, producing dramatic and artistic images.
The best part? You don’t need expensive equipment. With a DSLR or mirrorless camera, a tripod, and the right settings, you can create professional-looking long exposure photos.
In this complete guide, you’ll learn:
- What long exposure photography is
- Best camera settings
- Essential equipment
- Different types of long exposure photography
- How to use ND filters
- Common mistakes to avoid
- Professional tips for stunning results
Let’s begin.
What is Long Exposure Photography?
Long Exposure Photography is a technique where the camera shutter remains open for a longer period than usual.
Instead of capturing a single instant, the camera records movement over several seconds—or even minutes.
Moving subjects become smooth or blurred, while stationary objects remain sharp.
Examples include:
- Silky waterfalls
- Flowing rivers
- Ocean waves
- Car light trails
- Fireworks
- Star trails
- Cloud movement
Why Use Long Exposure Photography?
Long exposure helps photographers:
- Capture motion creatively.
- Add a sense of movement.
- Remove distractions from busy scenes.
- Create dreamy landscapes.
- Produce cinematic cityscapes.
- Capture night scenes with beautiful light trails.
- Achieve professional-looking images.
It’s one of the most creative techniques in photography.
Best Camera Settings for Long Exposure Photography
Shooting Mode
Use Manual Mode (M).
Manual Mode gives full control over shutter speed, aperture, and ISO.
Shutter Speed
Recommended shutter speeds:
| Subject | Shutter Speed |
|---|---|
| Waterfalls | 1–5 seconds |
| Rivers | 2–10 seconds |
| Ocean Waves | 5–30 seconds |
| Cloud Movement | 30–120 seconds |
| Car Light Trails | 10–30 seconds |
| Fireworks | 2–6 seconds |
| Star Trails | Several minutes (multiple exposures are commonly stacked) |
Choose the shutter speed based on the effect you want to create.
Aperture
Recommended:
- f/8
- f/11
- f/16
These apertures provide sharp images with good depth of field.
ISO
Use the lowest ISO available.
Recommended:
- ISO 100
- ISO 64 (if your camera supports it)
Low ISO minimizes digital noise and preserves image quality.
Essential Equipment
1. Tripod
A sturdy tripod is essential.
Without one, long exposures will usually result in blurry images caused by camera shake.
2. ND Filter
An ND (Neutral Density) Filter reduces the amount of light entering the lens.
This allows you to use slow shutter speeds even during bright daylight.
Popular options:
- ND8
- ND16
- ND64
- ND1000
Think of an ND filter as sunglasses for your camera.
3. Remote Shutter Release
Using a remote shutter release or your camera’s self-timer prevents vibrations caused by pressing the shutter button.
4. Extra Batteries
Long exposures consume more battery power, especially during cold weather.
Carry at least one spare battery.
Learn Long Exposure Photography Through Practical Experience
Reading about long exposure photography is only the first step. The real learning happens when you practice with different subjects and lighting conditions.
At Sharanya Institute Of Photography, under the expert guidance of Shrinivas Javanjal, students learn long exposure techniques during outdoor landscape shoots, waterfalls, city night photography, light trail sessions, and creative cinematography projects.
Our Online and Offline Diploma in Photography & Wedding Cinematography Courses provide hands-on training in camera settings, composition, filters, lighting, editing, and professional workflows. If you aspire to become a professional photographer, cinematographer, or editor, practical experience with long exposure photography will help you build confidence and creativity.
Types of Long Exposure Photography
1. Waterfall Photography
Use:
- ND Filter
- Tripod
- Shutter Speed: 1–5 seconds
This creates smooth, silky water while keeping rocks and surrounding scenery sharp.
2. Light Trail Photography
Perfect for:
- Highways
- Busy streets
- Bridges
Settings:
- ISO 100
- f/8
- 10–30 second shutter speed
Moving vehicle lights become colorful streaks.
3. Ocean Photography
Slow shutter speeds soften waves into a calm, mist-like appearance.
Best during sunrise or sunset.
4. Star Photography
Capture:
- Milky Way
- Star trails
- Night skies
Use:
- Wide-angle lens
- Tripod
- Wide aperture (f/2.8 or wider for single-exposure stars)
- Appropriate shutter speed depending on your subject
5. Cloud Photography
Long exposures create soft, flowing cloud movement that adds drama to landscapes and architecture.
Best Time for Long Exposure Photography
Excellent times include:
- Sunrise
- Sunset
- Blue Hour
- Night
- Overcast days
These conditions often provide softer light and more balanced exposures.
Shoot in RAW
RAW files are strongly recommended because they provide:
- Greater editing flexibility
- Better highlight recovery
- Improved shadow detail
- More effective noise reduction
- Easier White Balance adjustments
RAW gives you maximum creative control during post-processing.
Common Beginner Mistakes
Avoid these mistakes:
- Forgetting to use a tripod.
- Using Auto Mode.
- Choosing an ISO that is too high.
- Touching the camera during exposure.
- Ignoring the histogram.
- Forgetting to disable image stabilization when using a tripod (if recommended by your equipment manufacturer).
- Not using an ND filter in bright daylight.
Professional Tips
- Scout your location before shooting.
- Clean your lens and filters.
- Use Manual Focus after composing.
- Cover the viewfinder during very long exposures if your camera recommends it.
- Experiment with different shutter speeds.
- Check each image before moving to another location.
- Be patient—creative long exposure photography often requires multiple attempts.
Long Exposure Ideas
Practice with:
- Waterfalls
- Rivers
- Beaches
- Busy roads
- Bridges
- City lights
- Ferris wheels
- Fireworks
- Clouds
- Night skylines
The more you experiment, the more creative your images will become.
Frequently Asked Questions (FAQs)
What is long exposure photography?
Long exposure photography uses slow shutter speeds to capture movement over time, creating artistic effects such as silky water and light trails.
Do I need an ND filter?
For daytime long exposures, yes. An ND filter allows you to use slow shutter speeds without overexposing the image.
Can beginners learn long exposure photography?
Absolutely. With a tripod, Manual Mode, and practice, beginners can quickly learn this technique.
Which ISO is best?
ISO 100 (or the lowest native ISO on your camera) is recommended for maximum image quality.
Which lens is best for long exposure photography?
Wide-angle lenses are popular for landscapes, while standard zoom lenses are versatile for cityscapes and light trails.
Final Thoughts
Long exposure photography is one of the most rewarding techniques you can learn. It transforms ordinary scenes into dramatic works of art by recording movement in a creative way. Whether you’re photographing waterfalls, ocean waves, city lights, fireworks, or the night sky, understanding shutter speed, tripod use, and ND filters will help you create stunning results.
Start with simple scenes, practice different shutter speeds, and don’t be afraid to experiment. Every session will improve your technical skills and creative vision.
If you’re serious about becoming a professional photographer, cinematographer, or editor, Sharanya Institute Of Photography offers Online and Offline Diploma in Photography & Wedding Cinematography Courses under the mentorship of Shrinivas Javanjal. Through practical outdoor shoots, studio sessions, editing workshops, and real-world projects, you’ll learn advanced photography techniques and build the confidence needed for a successful creative career.
Tags:
You May Also Like
-
Jul 24, 2026
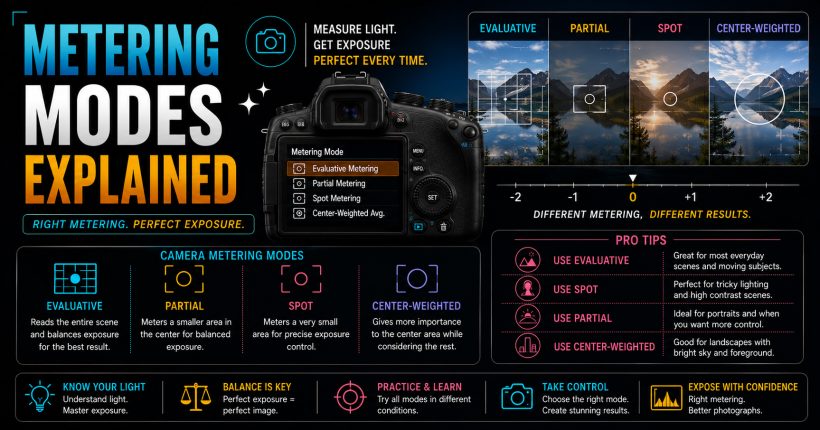
Learn camera metering modes, exposure measurement, and professional techniques to capture perfectly exposed photographs in every lighting condition with confidence.
-
Jul 24, 2026
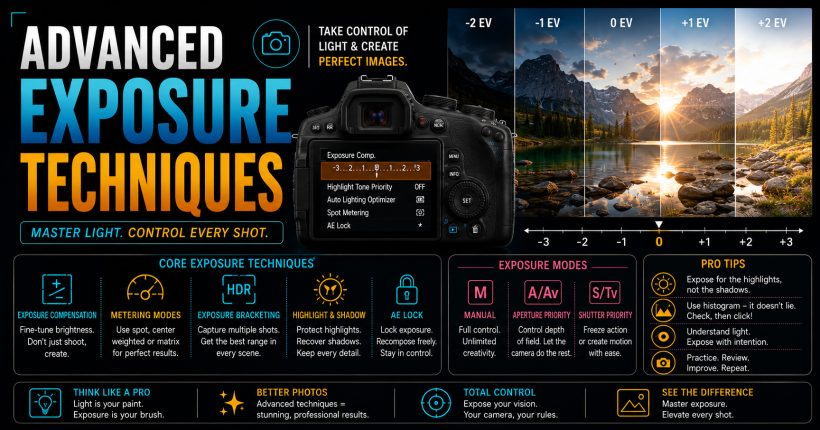
Master advanced exposure techniques using histograms, metering, exposure compensation, and bracketing to capture perfectly exposed professional-quality photographs every time.
-
Jul 24, 2026
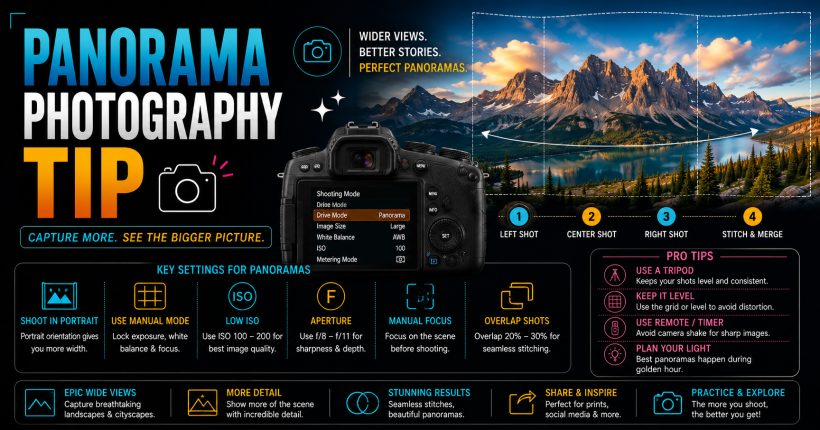
Learn panorama photography with simple camera settings, stitching techniques, and professional tips to capture breathtaking wide-angle landscapes and cityscapes effortlessly.
-
Jul 24, 2026
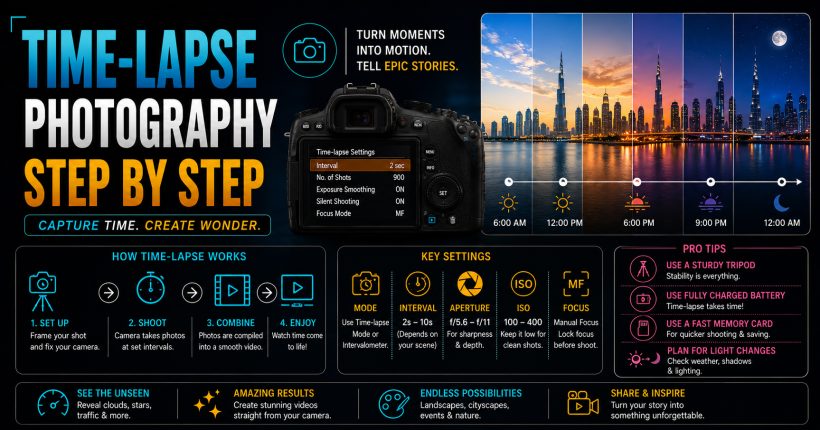
Learn time-lapse photography with simple camera settings, interval techniques, editing workflow, and expert tips for creating stunning cinematic videos effortlessly.
Sign up to receive our latest updates
Get in touch
Call us directly?
+91 9769533675
Address
Office No 9, First floor, Sudama Tower, Kasturi Plaza, Dombivli (E)
support@photovideocourse.com
Popular Courses

- © 2026 Sharanya Institute Of Photography All rights reserved.