
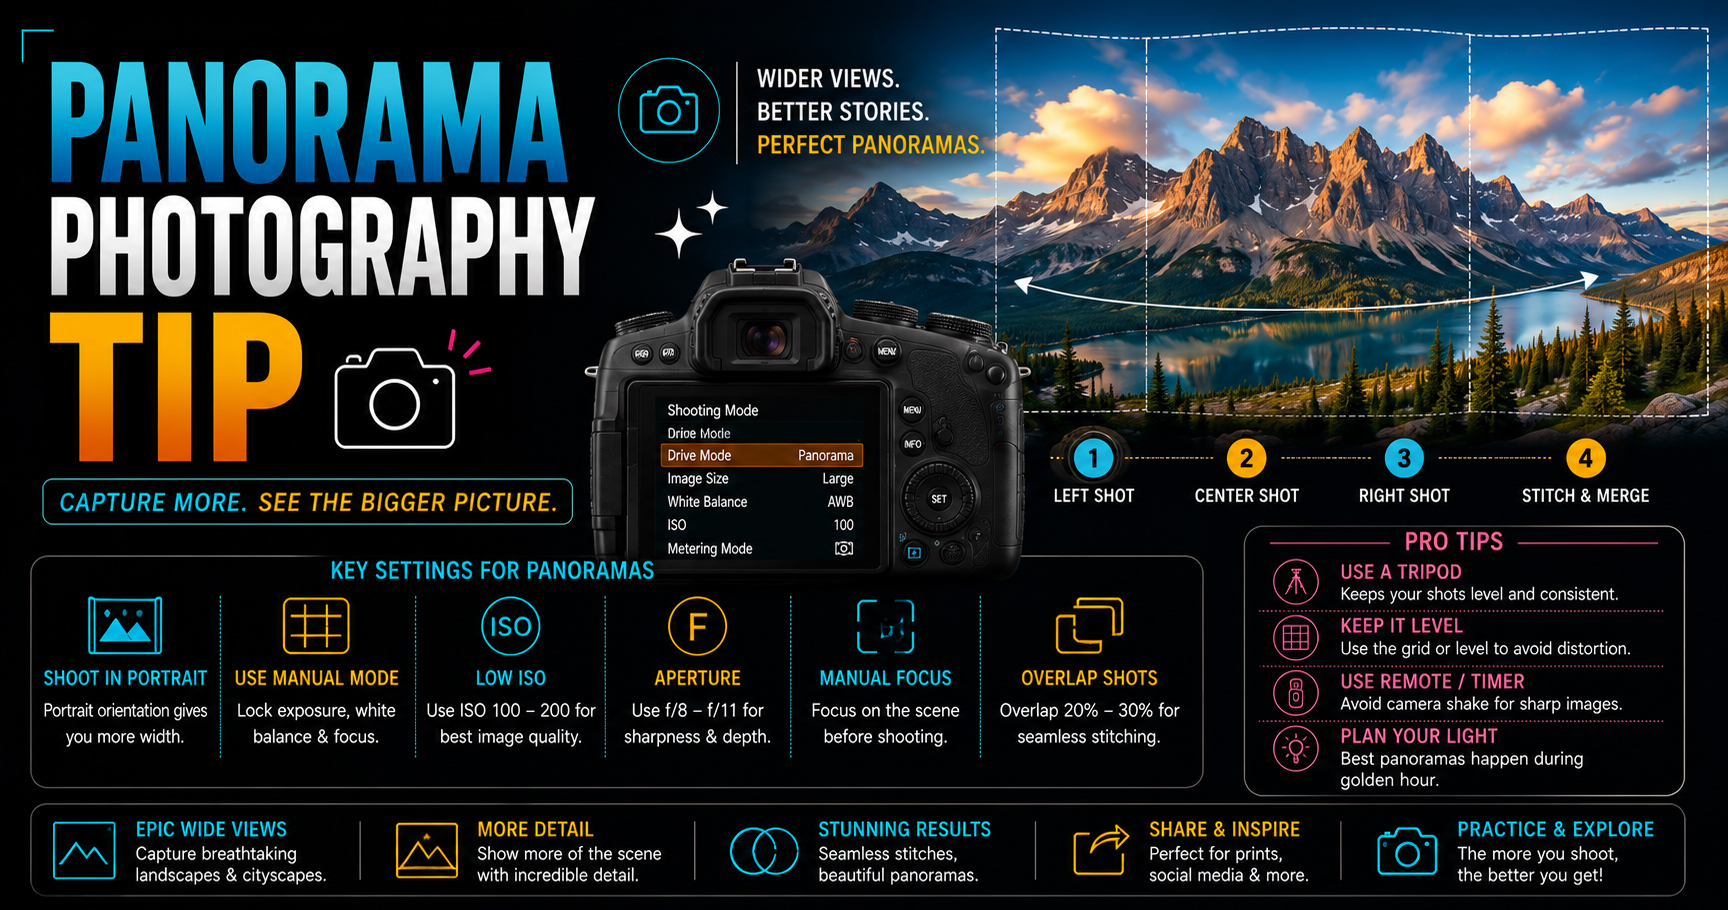
Panorama Photography Tips (Complete Beginner’s Guide 2026)
Have you ever visited a beautiful mountain, beach, or city viewpoint and wished you could capture everything in a single photograph? Sometimes even a wide-angle lens isn’t enough to fit the entire scene into one frame.
That’s where Panorama Photography comes in.
Panorama photography allows you to combine multiple overlapping photos into one ultra-wide image, capturing breathtaking landscapes, city skylines, interiors, and architectural scenes with incredible detail.
The best part is that you don’t need expensive equipment. Most DSLR cameras, mirrorless cameras, and even smartphones can create stunning panoramas when used correctly.
In this complete guide, you’ll learn:
- What panorama photography is
- When to use panorama mode
- Best camera settings
- Step-by-step shooting process
- Editing panorama photos
- Common mistakes beginners make
- Professional panorama photography tips
Let’s begin.
What is Panorama Photography?
Panorama Photography is the process of taking several overlapping photographs and stitching them together to create one wide panoramic image.
Instead of capturing a scene in one shot, you capture multiple images from left to right (or top to bottom), ensuring each photo overlaps with the previous one.
Special software or your camera then combines these images into one seamless panorama.
Why Use Panorama Photography?
Panorama photography offers several advantages:
- Capture ultra-wide landscapes.
- Photograph large buildings and monuments.
- Create stunning city skyline images.
- Capture interiors without an ultra-wide lens.
- Produce high-resolution images.
- Tell a bigger visual story.
Panoramas often look more immersive than standard photographs.
Best Situations for Panorama Photography
Panoramas work especially well for:
- Landscape Photography
- Mountain Views
- Beaches
- City Skylines
- Architecture
- Real Estate Photography
- Interior Photography
- Nature Photography
- Travel Photography
- Sunset & Sunrise Photography
Camera Settings for Panorama Photography
Using consistent settings across every frame is essential.
Shooting Mode
Use Manual Mode (M) whenever possible.
This keeps exposure consistent throughout the panorama.
Aperture
Recommended:
- f/8
- f/11
These settings provide excellent sharpness and depth of field.
ISO
Use:
- ISO 100
- ISO 200
A low ISO reduces noise and maintains maximum image quality.
White Balance
Set Manual White Balance.
Avoid Auto White Balance because changing colours between frames can create visible differences after stitching.
Focus
Focus once, then switch to Manual Focus.
This prevents focus from changing between shots.
Step-by-Step: How to Capture a Panorama
Step 1: Choose Your Composition
Look for a wide scene with interesting foreground, middle ground, and background elements.
Step 2: Mount Your Camera on a Tripod
A tripod helps keep every image level and aligned, making stitching much easier.
Step 3: Set Manual Exposure
Lock your exposure so brightness remains consistent throughout the sequence.
Step 4: Lock Focus
Focus on the subject, then switch to Manual Focus.
Step 5: Shoot Vertically
Turn your camera into portrait orientation.
This gives:
- Higher resolution
- More cropping flexibility
- Better final image quality
Step 6: Overlap Every Photo
Each photo should overlap the previous one by 30–40%.
This helps stitching software align the images accurately.
Step 7: Rotate Smoothly
Slowly rotate the camera while keeping the horizon level.
Avoid sudden movements between frames.
Learn Panorama Photography Through Practical Training
Panorama photography requires careful planning, camera control, and editing skills. Learning these techniques through practical assignments helps you achieve professional results much faster.
At Sharanya Institute Of Photography, under the expert guidance of Shrinivas Javanjal, students practise panorama photography during outdoor landscape shoots, architecture projects, travel photography sessions, and real estate assignments.
Our Online and Offline Diploma in Photography & Wedding Cinematography Courses provide hands-on training in camera settings, composition, lighting, editing, panorama stitching, and professional workflows. If you want to become a professional photographer, cinematographer, or editor, practical experience will help you build the confidence and skills required by the industry.
Best Equipment for Panorama Photography
Camera
- DSLR Camera
- Mirrorless Camera
Lens
Best focal lengths:
- 24mm
- 35mm
- 50mm
Very wide lenses may introduce more distortion, making stitching more challenging.
Tripod
A stable tripod keeps every frame aligned and reduces stitching errors.
Panoramic Tripod Head (Optional)
Professional photographers often use panoramic heads to reduce parallax errors and improve stitching accuracy.
Editing Panorama Photos
Popular panorama editing software includes:
- Adobe Lightroom
- Adobe Photoshop
- PTGui
- Hugin
- Capture One
Typical workflow:
- Import all images.
- Apply identical edits to every frame.
- Stitch the panorama.
- Crop the edges.
- Fine-tune colours and contrast.
- Export the final image.
Common Panorama Photography Mistakes
Avoid these beginner mistakes:
- Shooting handheld without keeping the camera level.
- Using Auto Exposure.
- Leaving Auto White Balance enabled.
- Forgetting to overlap images.
- Rotating the camera too quickly.
- Including fast-moving subjects.
- Using inconsistent focus between frames.
Paying attention to these details leads to cleaner, more natural panoramas.
Professional Panorama Photography Tips
- Shoot during Golden Hour for softer light.
- Include an interesting foreground element.
- Keep the horizon straight.
- Shoot in RAW for maximum editing flexibility.
- Avoid windy conditions if trees or grass dominate the scene.
- Take a few extra frames at the beginning and end of the sequence.
- Review your images before leaving the location.
Panorama Photography Ideas
Practice with:
- Mountain landscapes
- Beaches
- Forest trails
- Lakes
- City skylines
- Temples and monuments
- Historic buildings
- Stadiums
- Rooftop views
- Desert landscapes
- Snow-covered mountains
- Interior architecture
The more varied your subjects, the more confident you’ll become.
Panorama vs Wide-Angle Lens
| Panorama Photography | Wide-Angle Lens |
|---|---|
| Higher resolution | Single image |
| Wider field of view | Limited by lens |
| Requires stitching | No stitching needed |
| Excellent for landscapes | Great for quick shooting |
| More detail | Faster workflow |
Both techniques are useful, and many professionals use them together depending on the scene.
Frequently Asked Questions (FAQs)
What is panorama photography?
Panorama photography combines multiple overlapping photos into one wide image that captures a much larger field of view than a single photograph.
Can beginners shoot panorama photos?
Yes. Modern DSLR, mirrorless cameras, and smartphones make panorama photography easy for beginners with a little practice.
Do I need a tripod?
A tripod is highly recommended because it helps maintain alignment and improves stitching accuracy, although handheld panoramas are possible in some situations.
Should I shoot RAW or JPEG?
RAW is recommended because it provides greater flexibility for exposure, colour correction, and detail recovery during editing.
Which lens is best for panorama photography?
Standard wide-angle focal lengths such as 24mm, 35mm, and 50mm are popular because they minimise distortion while capturing expansive scenes.
Final Thoughts
Panorama photography is one of the best ways to capture landscapes, cityscapes, architecture, and travel destinations in breathtaking detail. By using Manual Mode, maintaining consistent settings, overlapping your images correctly, and practising good composition, you can create seamless panoramic photographs that look professional and immersive.
Remember, great panoramas come from careful planning rather than expensive equipment. Practice regularly, refine your technique, and experiment with different locations and lighting conditions.
If you’re serious about becoming a professional photographer, cinematographer, or editor, Sharanya Institute Of Photography offers Online and Offline Diploma in Photography & Wedding Cinematography Courses under the mentorship of Shrinivas Javanjal. Through practical outdoor shoots, studio sessions, editing workshops, and industry-focused training, you’ll master panorama photography along with the complete range of professional photography and cinematography skills.
Tags:
You May Also Like
-
Jul 24, 2026
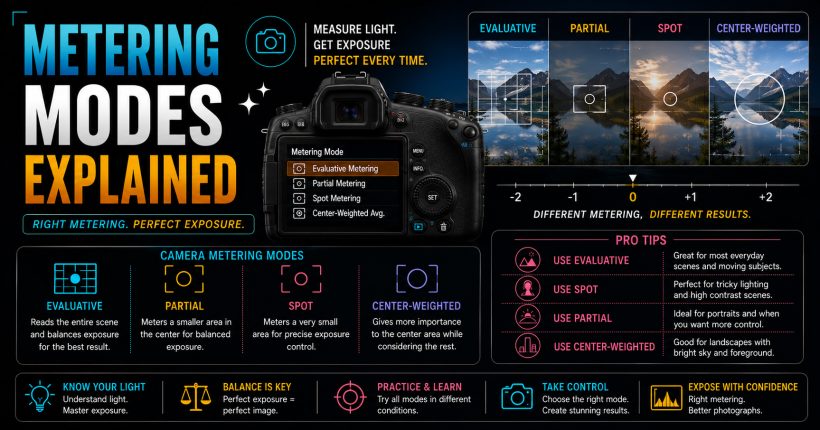
Learn camera metering modes, exposure measurement, and professional techniques to capture perfectly exposed photographs in every lighting condition with confidence.
-
Jul 24, 2026
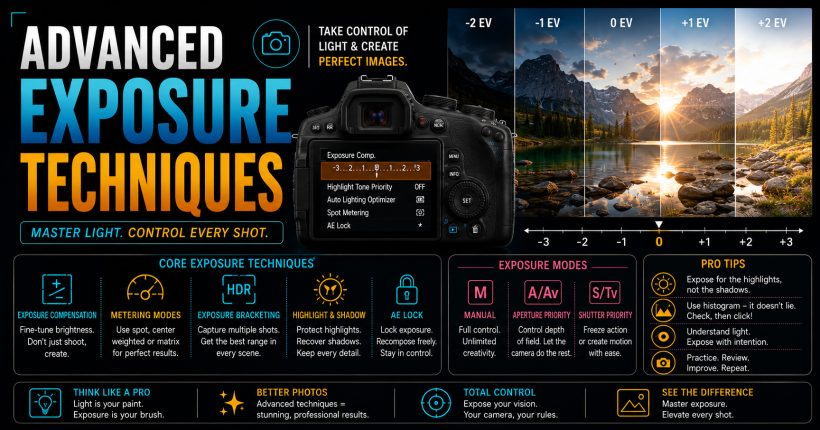
Master advanced exposure techniques using histograms, metering, exposure compensation, and bracketing to capture perfectly exposed professional-quality photographs every time.
-
Jul 24, 2026
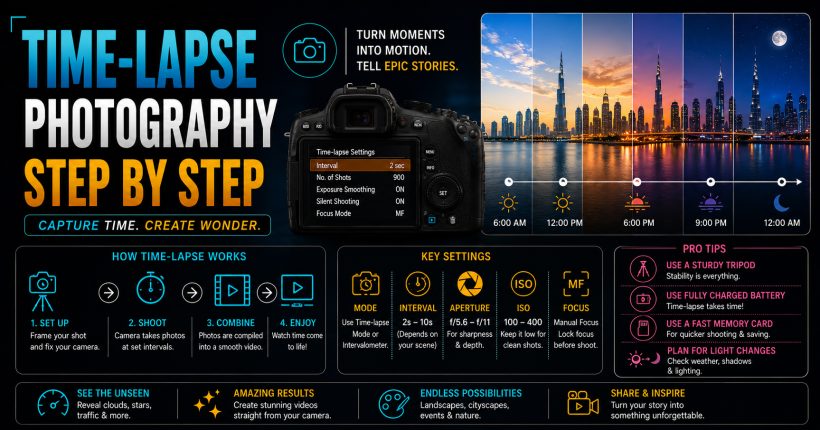
Learn time-lapse photography with simple camera settings, interval techniques, editing workflow, and expert tips for creating stunning cinematic videos effortlessly.
-
Jul 24, 2026
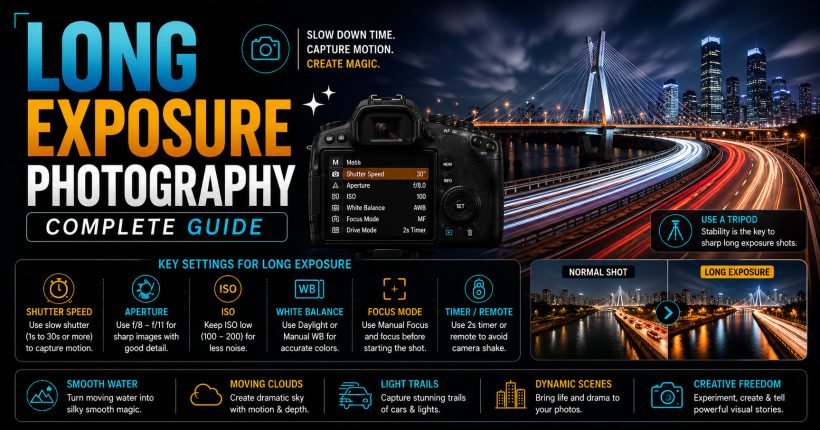
Master long exposure photography using slow shutter speeds, ND filters, and expert camera settings to capture creative, professional-quality images effortlessly.
Sign up to receive our latest updates
Get in touch
Call us directly?
+91 9769533675
Address
Office No 9, First floor, Sudama Tower, Kasturi Plaza, Dombivli (E)
support@photovideocourse.com
Popular Courses

- © 2026 Sharanya Institute Of Photography All rights reserved.