
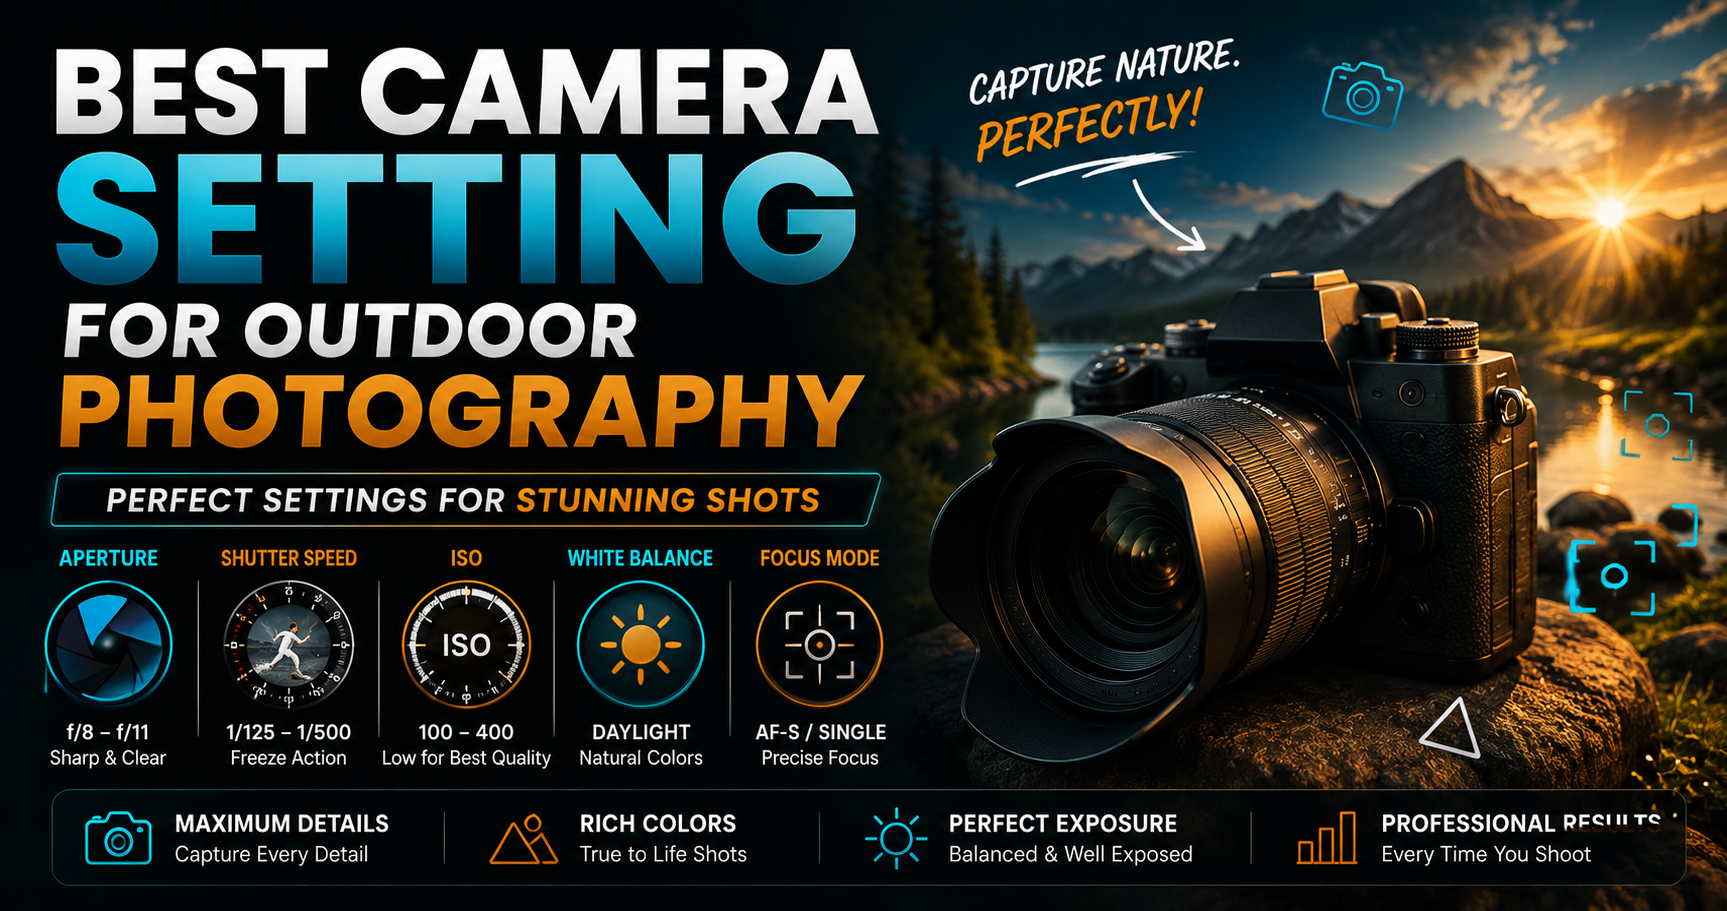
Best Camera Settings for Outdoor Photography (2026)
Outdoor photography is one of the best ways to improve your photography skills because it offers natural light, beautiful backgrounds, and endless creative opportunities. However, changing sunlight, weather, and subject movement can make choosing the right camera settings challenging.
Whether you’re photographing portraits, landscapes, wildlife, travel scenes, or outdoor events, using the correct camera settings will help you capture sharp, colorful, and professional-looking images.
In this guide, you’ll learn the best camera settings for different outdoor situations, along with practical tips that beginners can start using immediately.
Why Camera Settings Matter Outdoors
Natural light changes constantly throughout the day. A setting that works perfectly at sunrise may not work at noon or sunset.
The right settings help you:
- Capture sharp images
- Avoid overexposed skies
- Preserve shadow details
- Freeze moving subjects
- Create beautiful background blur
- Reduce digital noise
- Achieve professional-looking results
Learning how to adjust your camera instead of relying only on Auto Mode gives you much greater creative control.
Start with Manual Mode
For consistent outdoor results, Manual Mode (M) is the best choice.
It allows you to control:
- Aperture
- Shutter Speed
- ISO
If you’re still learning, Aperture Priority (A/Av) is also a good option because it lets you control depth of field while the camera automatically selects the shutter speed.
Best ISO Settings for Outdoor Photography
Always use the lowest ISO possible while maintaining the shutter speed you need.
| Lighting Condition | Recommended ISO |
|---|---|
| Bright Sunny Day | ISO 100 |
| Cloudy Weather | ISO 200–400 |
| Golden Hour | ISO 100–400 |
| Forest or Shade | ISO 400–800 |
| Sunset | ISO 400–800 |
| Night Outdoors | ISO 800–3200 (or higher if needed) |
Lower ISO values produce cleaner images with less digital noise.
Best Aperture Settings
Your aperture depends on the subject you are photographing.
Portrait Photography
Recommended Aperture:
- f/1.8
- f/2
- f/2.8
These settings create a beautiful blurred background (bokeh) while keeping the subject sharp.
Landscape Photography
Recommended Aperture:
- f/8
- f/11
- f/16
These values keep more of the scene in focus from front to back.
Group Photography
Use:
- f/5.6
- f/8
This helps keep everyone in focus.
Wildlife Photography
Recommended:
- f/4
- f/5.6
A wider aperture allows faster shutter speeds, making it easier to freeze animal movement.
Best Shutter Speed Settings
Shutter speed controls motion.
Portraits
- 1/200 sec
Walking People
- 1/250 sec
Running Children
- 1/500 sec
Birds
- 1/2000 sec
Sports
- 1/1000 sec or faster
Waterfalls
- 1–5 seconds (with tripod)
Landscapes
- 1/125 sec or slower if using a tripod
Best White Balance Settings
Many beginners leave White Balance on Auto, which is perfectly acceptable for most outdoor situations.
If you want more consistent colors:
| Situation | White Balance |
| Sunny Day | Daylight |
| Cloudy Weather | Cloudy |
| Shade | Shade |
| Sunset | Cloudy or Daylight |
| Mixed Light | Auto White Balance |
Shooting in RAW allows you to fine-tune white balance later without degrading image quality.
Best Autofocus Settings
Portraits
- AF-S / One Shot
- Eye Detection AF (if available)
Wildlife & Sports
- AF-C / AI Servo
- Subject Tracking
Landscapes
- Single Point AF
- Manual Focus (optional for precision)
Choosing the right autofocus mode is just as important as choosing the right exposure.
Recommended Metering Mode
For most outdoor photography:
- Evaluative Metering (Canon)
- Matrix Metering (Nikon)
- Multi Metering (Sony)
Use Spot Metering when photographing subjects against very bright or very dark backgrounds.
Shoot in RAW for Better Editing
RAW files preserve more image information, making it easier to recover highlights, brighten shadows, and adjust white balance.
If you’re serious about photography, consider shooting in RAW or RAW + JPEG.
Learn Outdoor Photography Like a Professional
Great outdoor photography isn’t just about using the right camera settings. It’s about understanding light, choosing the right composition, directing subjects, and knowing how to edit your images professionally.
At Sharanya Institute Of Photography, under the guidance of Shrinivas Javanjal, students learn these skills through practical outdoor shoots, portrait sessions, wedding photography assignments, cinematography projects, and editing workshops.
We offer Online and Offline Diploma in Photography & Wedding Cinematography Courses, designed for beginners and aspiring professionals. From camera handling and lighting to color grading and portfolio creation, our courses help students develop real-world skills that prepare them for successful careers in photography, cinematography, and editing.
Best Outdoor Camera Settings for Different Photography Styles
Portrait Photography
- Mode: Manual
- Aperture: f/1.8–f/2.8
- Shutter Speed: 1/200 sec
- ISO: 100
- Focus: Eye Detection AF
Landscape Photography
- Mode: Manual
- Aperture: f/8–f/11
- Shutter Speed: 1/125 sec (or tripod)
- ISO: 100
- Focus: Single Point AF
Wildlife Photography
- Aperture: f/4–f/5.6
- Shutter Speed: 1/1000–1/2000 sec
- ISO: 400–800
- Focus: Continuous AF
Street Photography
- Aperture: f/5.6
- Shutter Speed: 1/250 sec
- ISO: 100–400
Golden Hour Photography
- Aperture: f/2–f/4
- ISO: 100–400
- Shutter Speed: Adjust based on available light
Common Outdoor Photography Mistakes
Avoid these mistakes:
- Keeping ISO too high in bright sunlight.
- Forgetting to check the histogram.
- Using a slow shutter speed while handholding the camera.
- Ignoring the direction of natural light.
- Shooting only in JPEG.
- Forgetting to clean the lens.
- Not checking the background.
- Using Auto Mode for every shot.
Correcting these habits will improve your photos immediately.
Professional Outdoor Photography Tips
- Shoot during the Golden Hour for softer, warmer light.
- Keep the sun behind your subject for even lighting or use backlighting creatively.
- Use lens hoods to reduce flare.
- Carry a microfiber cloth to keep your lens clean.
- Review your images regularly and adjust settings as the light changes.
- Practice with Manual Mode until changing settings becomes second nature.
Frequently Asked Questions (FAQs)
What is the best ISO for outdoor photography?
ISO 100 is ideal for bright daylight because it provides the cleanest image quality. Increase ISO only when necessary.
Which aperture is best for outdoor portraits?
Apertures between f/1.8 and f/2.8 are popular because they create a pleasing blurred background while keeping the subject sharp.
Should I use Auto Mode outdoors?
Auto Mode is convenient for casual photography, but Manual Mode or Aperture Priority gives you greater creative control and more consistent results.
Is RAW better than JPEG for outdoor photography?
Yes. RAW files preserve more detail and make editing much easier, especially when recovering highlights or adjusting white balance.
Do professional photographers use Manual Mode outdoors?
Yes. Most professionals rely on Manual Mode to maintain consistent exposure as lighting conditions change.
Final Thoughts
Outdoor photography becomes much easier when you understand how ISO, Aperture, Shutter Speed, focus, and light work together. There is no single perfect camera setting for every outdoor scene—the best photographers adjust their settings based on the subject, lighting, and creative vision.
Start with the recommendations in this guide, practice regularly, and don’t be afraid to experiment. Over time, you’ll develop the confidence to adjust your camera instinctively and create stunning outdoor images in any condition.
If you’re passionate about becoming a professional photographer, cinematographer, or editor, Sharanya Institute Of Photography offers Online and Offline Diploma in Photography & Wedding Cinematography Courses under the expert mentorship of Shrinivas Javanjal. Our practical training helps students build strong technical skills, creative confidence, and an industry-ready portfolio.
Tags:
You May Also Like
-
Jul 24, 2026
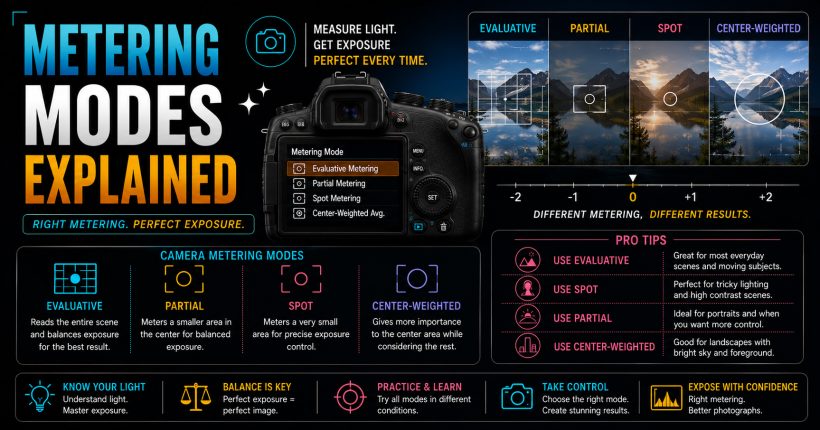
Learn camera metering modes, exposure measurement, and professional techniques to capture perfectly exposed photographs in every lighting condition with confidence.
-
Jul 24, 2026
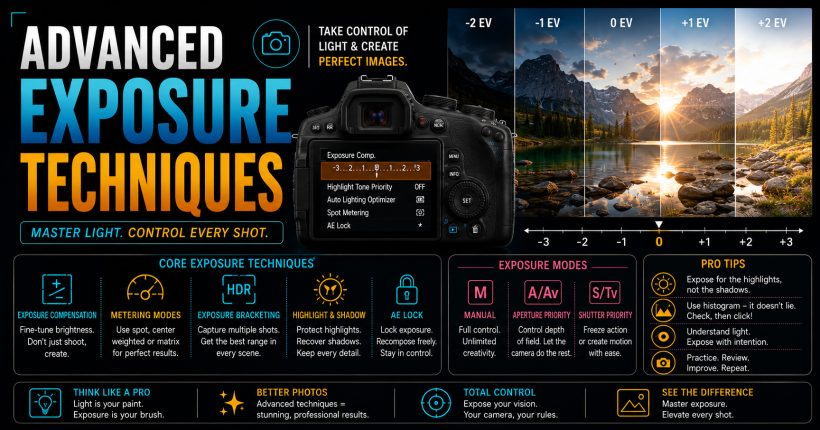
Master advanced exposure techniques using histograms, metering, exposure compensation, and bracketing to capture perfectly exposed professional-quality photographs every time.
-
Jul 24, 2026
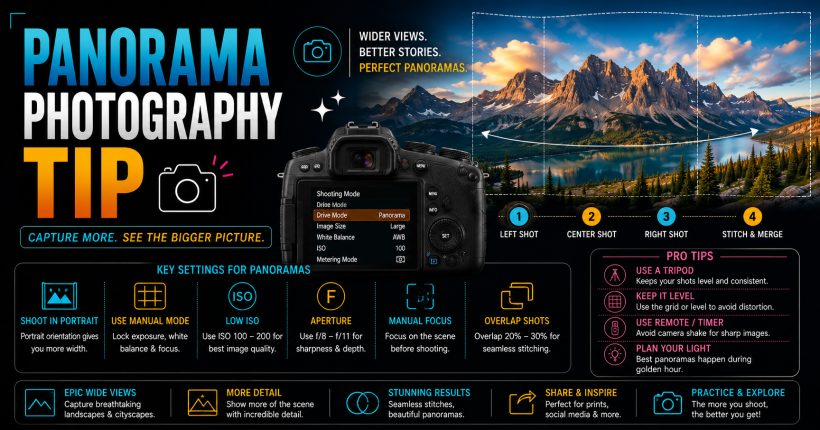
Learn panorama photography with simple camera settings, stitching techniques, and professional tips to capture breathtaking wide-angle landscapes and cityscapes effortlessly.
-
Jul 24, 2026
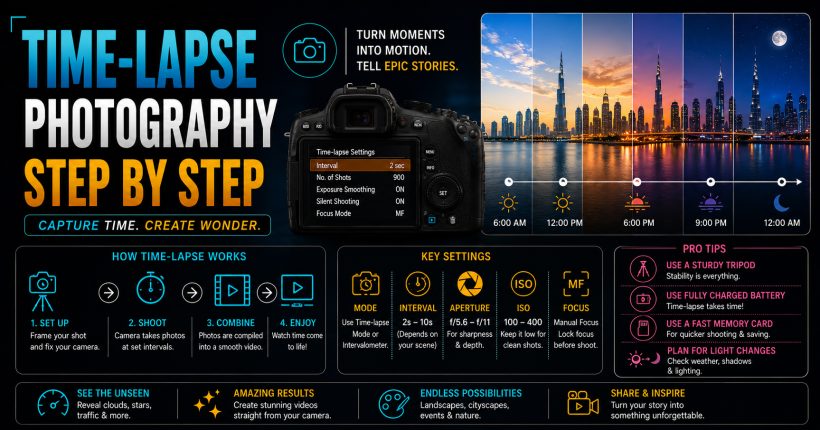
Learn time-lapse photography with simple camera settings, interval techniques, editing workflow, and expert tips for creating stunning cinematic videos effortlessly.
Sign up to receive our latest updates
Get in touch
Call us directly?
+91 9769533675
Address
Office No 9, First floor, Sudama Tower, Kasturi Plaza, Dombivli (E)
support@photovideocourse.com
Popular Courses

- © 2026 Sharanya Institute Of Photography All rights reserved.