
HDR Photography Explained (Complete Beginner’s Guide 2026)
Have you ever photographed a beautiful sunset, only to find that the sky looks perfect but the foreground is too dark—or the foreground looks good but the sky becomes completely white?
This happens because your camera cannot always capture the full range of light in high-contrast scenes.
That’s where HDR Photography (High Dynamic Range Photography) helps.
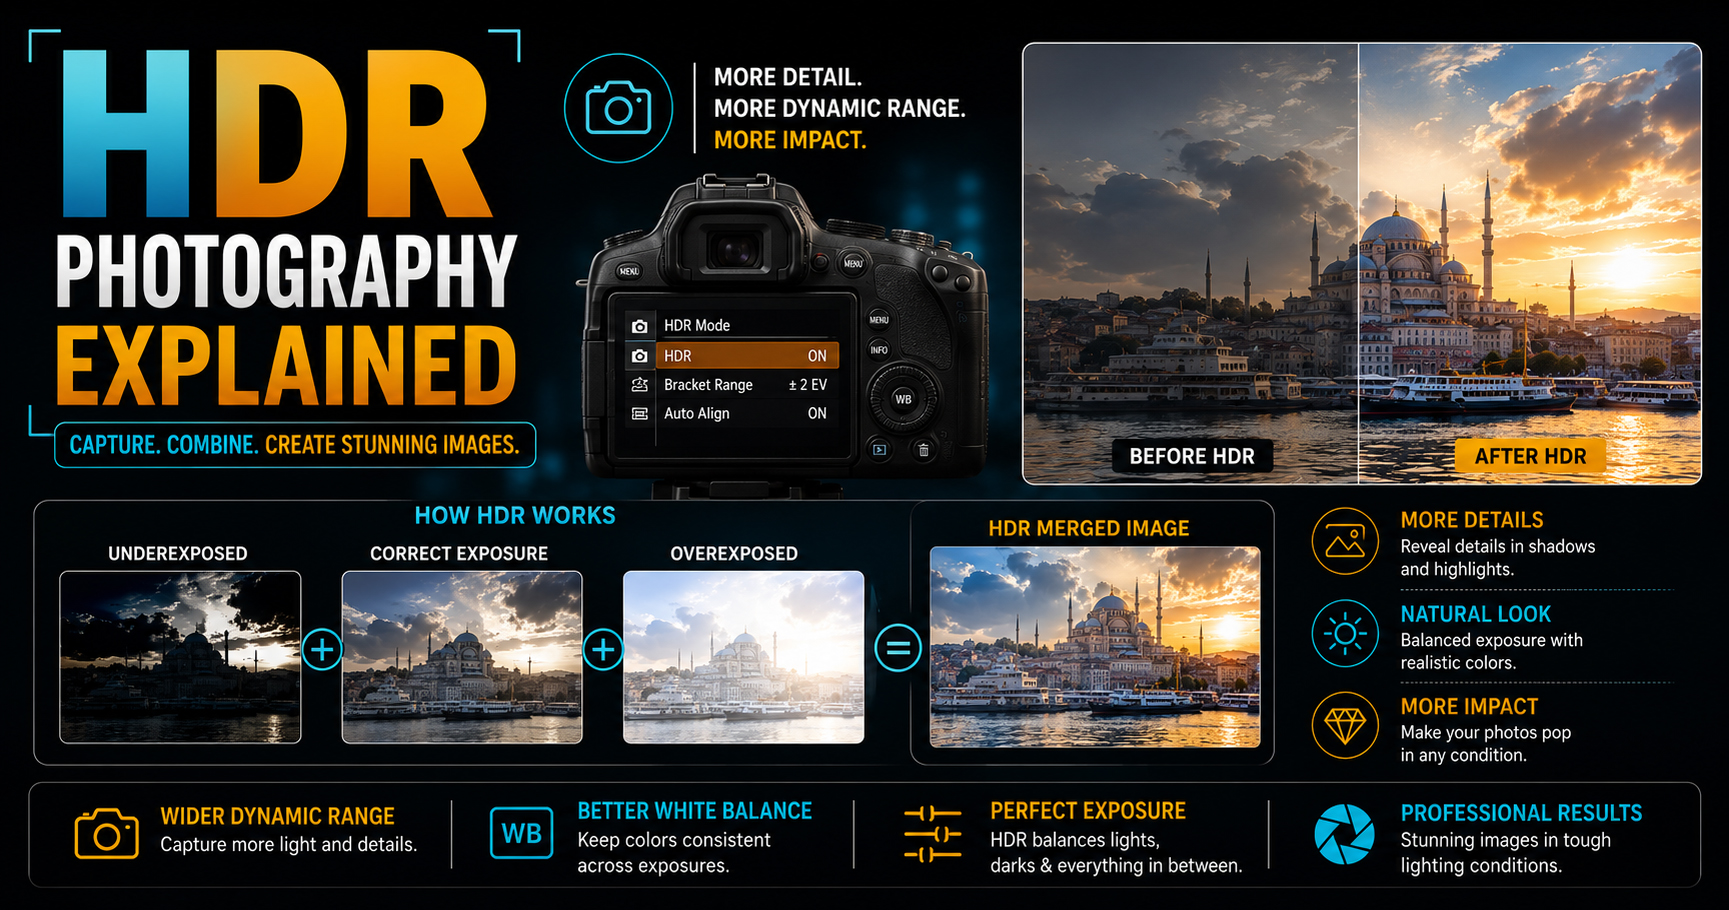
HDR combines multiple photos taken at different exposure levels into one image, preserving details in both the bright and dark areas. When used correctly, HDR creates natural-looking images with balanced exposure and excellent detail.
In this guide, you’ll learn:
- What HDR photography is
- How HDR works
- When to use HDR
- Camera settings for HDR
- HDR editing workflow
- Common mistakes beginners make
- Professional HDR tips
Let’s get started.
What is HDR Photography?
HDR (High Dynamic Range) Photography is a technique where multiple photos of the same scene are taken at different exposure levels and merged into a single image.
Typically, photographers capture:
- One underexposed photo (for highlight details)
- One correctly exposed photo
- One overexposed photo (for shadow details)
These images are combined using HDR software or the camera’s built-in HDR feature.
The final result includes detail in both highlights and shadows.
What Does “Dynamic Range” Mean?
Dynamic Range is the difference between the darkest shadows and the brightest highlights in a scene.
Examples of high dynamic range scenes:
- Sunrise
- Sunset
- Bright windows inside a room
- Landscapes with bright skies
- Churches and temples
- Cityscapes at dusk
When the dynamic range exceeds what your camera sensor can capture in a single exposure, HDR becomes a useful solution.
How Does HDR Photography Work?
The HDR process is simple:
Step 1
Capture several photos with different exposures.
Step 2
Import the images into HDR software.
Step 3
Merge the exposures.
Step 4
Adjust brightness, contrast, colors, and fine details.
Step 5
Export the final HDR image.
Modern cameras and smartphones can often automate this process.
When Should You Use HDR?
HDR is ideal for scenes with strong contrast between light and shadow.
Best Situations
- Landscape Photography
- Sunrise Photography
- Sunset Photography
- Architecture
- Interior Photography
- Real Estate Photography
- Cityscapes
- Travel Photography
These scenes often contain details that cannot be captured in a single exposure.
When Should You Avoid HDR?
HDR is generally not recommended for:
- Fast-moving subjects
- Sports
- Wildlife
- Action photography
- Children running
- Live events with rapid movement
Movement between exposures can cause “ghosting” in the final image.
Learn HDR Through Practical Photography
Understanding HDR is much easier when you practice it in real shooting conditions.
At Sharanya Institute Of Photography, under the mentorship of Shrinivas Javanjal, students learn HDR techniques during outdoor landscape shoots, architecture photography, real estate projects, and professional editing sessions.
Our Online and Offline Diploma in Photography & Wedding Cinematography Courses include practical training in camera settings, exposure bracketing, lighting, composition, HDR editing, color grading, and advanced workflows.
If you dream of becoming a professional photographer, cinematographer, or editor, structured hands-on learning will help you master HDR and many other essential techniques.
Camera Settings for HDR Photography
For the best results:
Shooting Mode
Manual Mode (M) or Aperture Priority (A/Av)
ISO
ISO 100
Using a low ISO reduces digital noise.
Aperture
f/8 to f/11
Ideal for landscapes and architecture.
Focus
Manual Focus
Lock focus before taking the exposure sequence to maintain consistency.
White Balance
Manual White Balance
Avoid Auto White Balance to keep colors consistent across all exposures.
Tripod
Highly Recommended
A tripod keeps all exposures perfectly aligned, making HDR merging much more accurate.
What is Exposure Bracketing?
Exposure Bracketing (AEB – Auto Exposure Bracketing) is a camera feature that automatically captures multiple exposures.
Example:
- -2 EV
- 0 EV
- +2 EV
Most modern DSLR and mirrorless cameras support Auto Exposure Bracketing, making HDR photography faster and easier.
HDR Editing Software
Popular HDR software includes:
- Adobe Lightroom
- Adobe Photoshop
- Aurora HDR
- Photomatix
- ON1 Photo RAW
These programs merge exposures and allow you to fine-tune the final image.
Natural HDR vs Overprocessed HDR
Good HDR should look realistic.
Natural HDR
- Balanced highlights
- Visible shadow details
- Realistic colors
- Natural contrast
Overprocessed HDR
- Excessive saturation
- Artificial-looking halos
- Flat lighting
- Unrealistic colors
- Too much sharpening
Professional photographers usually prefer a subtle HDR style.
HDR Photography for Different Genres
Landscape Photography
HDR captures detail in both the bright sky and dark foreground.
Architecture Photography
Preserves exterior highlights and interior shadows.
Real Estate Photography
Helps show window views while keeping indoor spaces properly exposed.
Travel Photography
Maintains detail in bright daylight scenes and historic buildings.
Sunset Photography
Retains rich sky colors while revealing foreground details.
Smartphone HDR vs Camera HDR
| Feature | Smartphone HDR | Camera HDR |
|---|---|---|
| Ease of Use | Excellent | Moderate |
| Image Quality | Good | Excellent |
| Editing Flexibility | Limited | High |
| Dynamic Range | Good | Better |
| Professional Results | Limited | Excellent |
Smartphones produce impressive HDR images, but dedicated cameras offer greater control and image quality.
Common HDR Mistakes
Avoid these beginner mistakes:
- Shooting handheld instead of using a tripod.
- Using Auto White Balance during exposure bracketing.
- Over-editing colors and contrast.
- Applying excessive sharpening.
- Using HDR on moving subjects.
- Forgetting to check the histogram.
- Ignoring exposure bracketing settings.
Keeping the effect natural usually produces the most professional results.
Professional HDR Tips
- Shoot in RAW for maximum editing flexibility.
- Use a sturdy tripod.
- Enable Auto Exposure Bracketing.
- Keep ISO as low as possible.
- Focus manually before capturing the sequence.
- Edit gently to preserve a realistic look.
- Practice during sunrise and sunset for dramatic results.
Frequently Asked Questions (FAQs)
What is HDR photography?
HDR (High Dynamic Range) photography combines multiple exposures into one image to preserve detail in both bright highlights and dark shadows.
Is HDR good for beginners?
Yes. Many modern cameras and smartphones include automatic HDR modes, making it easy for beginners to experiment.
Should I shoot HDR in RAW?
Yes. RAW files provide greater flexibility during HDR editing and help preserve maximum image quality.
Can I shoot HDR without a tripod?
Yes, but a tripod is recommended for the sharpest and most accurate results, especially with dedicated cameras.
Is HDR only for landscapes?
No. HDR is also useful for architecture, interiors, real estate, travel, and any scene with high contrast between light and shadow.
Final Thoughts
HDR photography is a powerful technique for capturing scenes that exceed the dynamic range of a single exposure. When used thoughtfully, HDR creates balanced, detailed, and visually appealing images without looking artificial.
Start by practicing with landscapes, sunrises, sunsets, and architecture. Learn exposure bracketing, use a tripod whenever possible, and edit with a light touch. With experience, HDR will become another valuable tool in your photography workflow.
If you’re serious about becoming a professional photographer, cinematographer, or editor, Sharanya Institute Of Photography offers Online and Offline Diploma in Photography & Wedding Cinematography Courses under the expert guidance of Shrinivas Javanjal. Through practical assignments, live shoots, editing workshops, and industry-focused mentoring, you’ll master HDR photography and the complete creative process from capture to final edit.
Tags:
You May Also Like
-
Jul 24, 2026
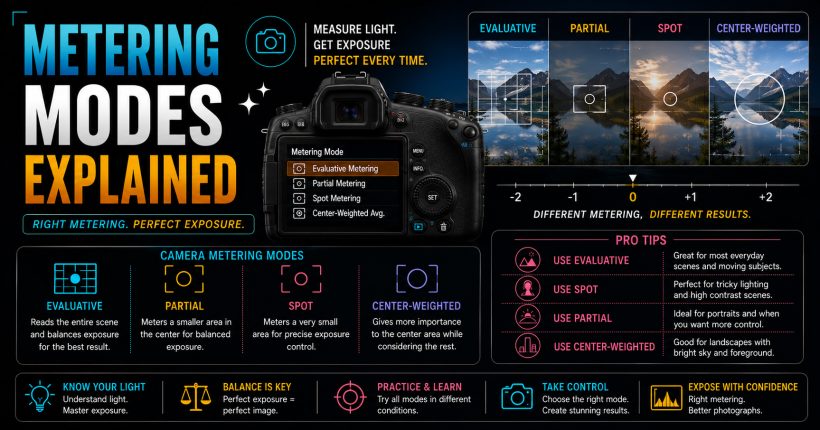
Learn camera metering modes, exposure measurement, and professional techniques to capture perfectly exposed photographs in every lighting condition with confidence.
-
Jul 24, 2026
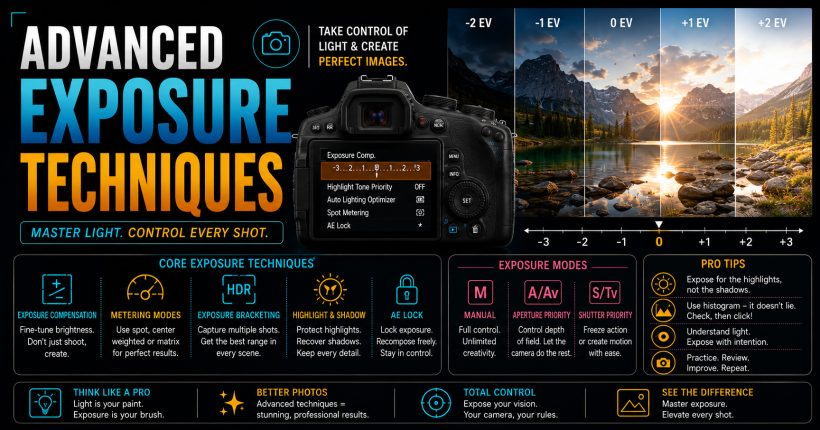
Master advanced exposure techniques using histograms, metering, exposure compensation, and bracketing to capture perfectly exposed professional-quality photographs every time.
-
Jul 24, 2026
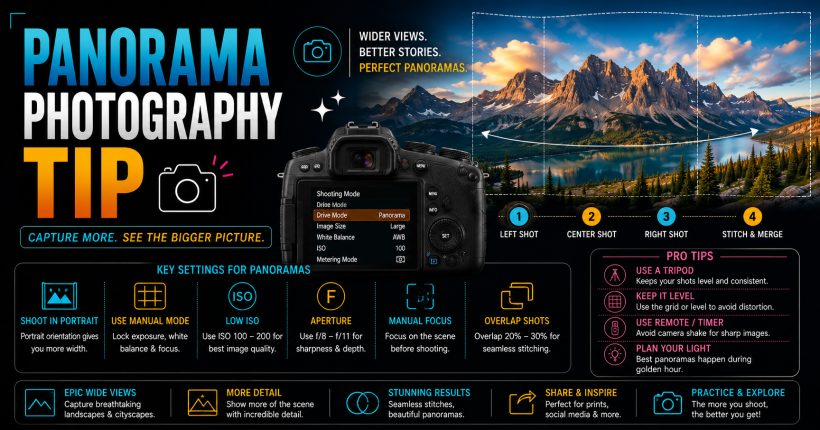
Learn panorama photography with simple camera settings, stitching techniques, and professional tips to capture breathtaking wide-angle landscapes and cityscapes effortlessly.
-
Jul 24, 2026
Learn time-lapse photography with simple camera settings, interval techniques, editing workflow, and expert tips for creating stunning cinematic videos effortlessly.
Sign up to receive our latest updates
Get in touch
Call us directly?
+91 9769533675
Address
Office No 9, First floor, Sudama Tower, Kasturi Plaza, Dombivli (E)
support@photovideocourse.com
Popular Courses

- © 2026 Sharanya Institute Of Photography All rights reserved.