
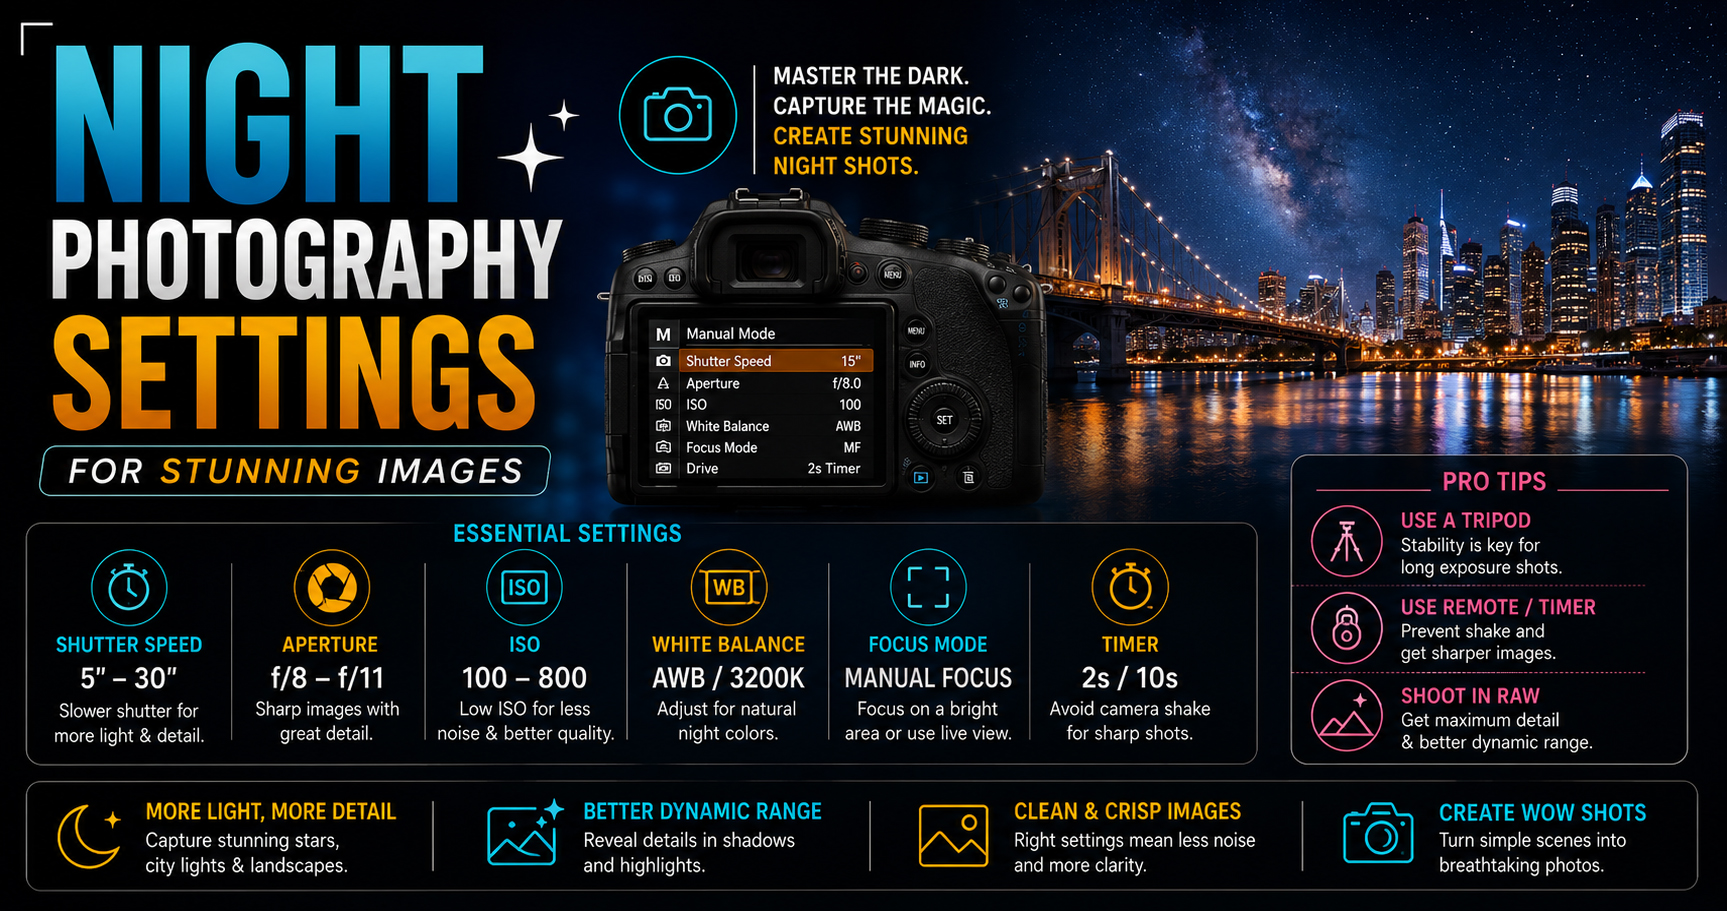
Night Photography Settings for Stunning Images (Complete Guide 2026)
Night photography is one of the most exciting and creative styles of photography. From glowing city lights and colorful festivals to starry skies and dramatic long exposures, shooting at night allows photographers to capture scenes that look completely different from daylight.
However, many beginners struggle with blurry photos, excessive noise, incorrect focus, or dark images. The good news is that these problems are easy to solve once you understand the correct camera settings.
In this complete beginner’s guide, you’ll learn:
- Best camera settings for night photography
- Recommended aperture, shutter speed, and ISO
- How to focus in low light
- Best lenses for night photography
- Long exposure techniques
- Common mistakes to avoid
- Professional tips for sharp and beautiful night photos
Let’s get started.
What is Night Photography?
Night photography is the art of capturing photographs in low-light or dark conditions after sunset.
Popular night photography styles include:
- Cityscape Photography
- Street Photography
- Light Trails
- Star Photography
- Moon Photography
- Astrophotography
- Festival Photography
- Fireworks Photography
- Long Exposure Photography
Because light is limited, photographers must carefully control their camera settings.
Why Night Photography is Challenging
At night, your camera receives much less light than during the day.
This creates challenges such as:
- Blurry images
- Camera shake
- Digital noise
- Autofocus difficulties
- Underexposed photos
- Motion blur
Fortunately, the right techniques can overcome all of these issues.
Best Camera Settings for Night Photography
Shooting Mode
Manual Mode (M)
Manual Mode gives you full control over exposure and is the preferred choice for night photography.
Aperture
Use the widest aperture your lens allows.
Recommended:
- f/1.4
- f/1.8
- f/2
- f/2.8
A wider aperture lets more light reach the sensor, making it easier to capture bright, detailed images.
For landscapes requiring greater depth of field, apertures around f/5.6 to f/8 may be appropriate when using a tripod.
Shutter Speed
Your shutter speed depends on the subject.
City Photography
- 2–10 seconds
Light Trails
- 10–30 seconds
Star Photography
- 15–25 seconds (depending on focal length)
Fireworks
- 2–6 seconds
Handheld Portraits
- 1/125 sec or faster
Longer shutter speeds gather more light but require a stable camera.
ISO
Start with the lowest ISO possible.
Recommended:
- ISO 100–400 (Tripod)
- ISO 800–1600 (Handheld)
- ISO 3200+ (Only when necessary)
Higher ISO brightens the image but also increases digital noise.
Best White Balance for Night Photography
Recommended options:
- Auto White Balance (good starting point)
- Tungsten for city lights
- Manual Kelvin (3200K–4500K) for consistent results
If you’re shooting in RAW, White Balance can be adjusted later during editing.
Focus Settings
Autofocus may struggle in very dark environments.
For the best results:
- Use Single Point Autofocus on bright subjects.
- Switch to Manual Focus if autofocus hunts.
- Magnify Live View to achieve precise focus on stars or distant lights.
Accurate focus is essential for sharp night images.
Use a Tripod
A sturdy tripod is one of the most valuable accessories for night photography.
It allows:
- Long exposures
- Lower ISO
- Sharper images
- Better composition
Whenever possible, use a tripod for cityscapes, landscapes, fireworks, and astrophotography.
Learn Night Photography with Real Practice
Night photography requires more than just the right camera settings—it demands practical experience in different lighting conditions.
At Sharanya Institute Of Photography, under the expert mentorship of Shrinivas Javanjal, students practice night photography through live outdoor shoots, cityscape sessions, long exposure projects, wedding events, and low-light cinematography assignments.
Our Online and Offline Diploma in Photography & Wedding Cinematography Courses help students master camera settings, lighting, composition, editing, color grading, and professional workflows through hands-on learning.
If your goal is to become a professional photographer, cinematographer, or editor, structured training can help you confidently capture stunning images in any lighting condition.
Best Lenses for Night Photography
Wide-aperture lenses perform best in low light.
Recommended lenses:
- 35mm f/1.8
- 50mm f/1.8
- 85mm f/1.8
- 24–70mm f/2.8
- 16–35mm f/2.8
These lenses collect more light and create cleaner, sharper images.
Camera Accessories You’ll Need
Essential gear includes:
- Sturdy Tripod
- Remote Shutter Release
- Extra Batteries
- High-Speed Memory Cards
- Lens Cleaning Cloth
- Flashlight or Headlamp
- Camera Rain Cover (if needed)
Cold weather and long exposures can drain batteries faster, so carrying spares is recommended.
Best Camera Settings for Different Night Photography Styles
Cityscape Photography
- Mode: Manual
- Aperture: f/8
- Shutter Speed: 5–20 seconds
- ISO: 100
- Tripod: Yes
Street Photography at Night
- Aperture: f/1.8–f/2.8
- Shutter Speed: 1/125 sec
- ISO: 800–3200
Light Trails
- Aperture: f/8
- Shutter Speed: 15–30 seconds
- ISO: 100
Fireworks Photography
- Aperture: f/8–f/11
- Shutter Speed: 2–6 seconds
- ISO: 100
Star Photography
- Aperture: f/2.8 or wider
- Shutter Speed: 15–25 seconds
- ISO: 1600–3200
Shoot in RAW
RAW files preserve much more detail than JPEG.
Benefits include:
- Better noise reduction
- Greater dynamic range
- Easier White Balance adjustments
- Improved shadow recovery
- Higher editing flexibility
RAW is strongly recommended for night photography.
Common Night Photography Mistakes
Avoid these beginner mistakes:
- Using Auto Mode.
- Forgetting the tripod for long exposures.
- Setting ISO unnecessarily high.
- Relying only on autofocus.
- Touching the camera during long exposures.
- Shooting only in JPEG.
- Ignoring lens cleanliness (lights reveal smudges easily).
Small adjustments can dramatically improve your results.
Professional Night Photography Tips
- Shoot during the Blue Hour for balanced lighting.
- Use the camera’s self-timer or a remote shutter release.
- Turn off Image Stabilization when the camera is mounted on a tripod (if recommended by your lens manufacturer).
- Check the histogram after each shot.
- Experiment with different shutter speeds for creative effects.
- Keep spare batteries warm in cold weather.
- Practice focusing manually in low light.
Frequently Asked Questions (FAQs)
Which camera mode is best for night photography?
Manual Mode provides the greatest control over exposure and is the preferred choice for most night photography situations.
What ISO should I use at night?
Use the lowest ISO that still provides the required brightness. Start around ISO 100 on a tripod or ISO 800–1600 when shooting handheld.
Why are my night photos blurry?
Blurry images are often caused by camera shake, incorrect focus, or shutter speeds that are too slow for handheld shooting.
Should I shoot RAW or JPEG at night?
RAW is recommended because it offers more flexibility for noise reduction, White Balance correction, and exposure adjustments.
Can I shoot night photography without a tripod?
Yes, but you’ll need a fast lens, higher ISO, and a sufficiently fast shutter speed. A tripod remains the best option for maximum image quality.
Final Thoughts
Night photography opens up a world of creative possibilities, from sparkling city skylines to breathtaking star-filled skies. By understanding Manual Mode, aperture, shutter speed, ISO, and focusing techniques, you’ll be able to create sharp, detailed, and visually stunning images even in challenging low-light conditions.
Practice regularly, experiment with long exposures, and don’t be afraid to review and refine your camera settings after each session. Every night shoot will help you improve your skills and confidence.
If you’re passionate about becoming a professional photographer, cinematographer, or editor, Sharanya Institute Of Photography offers Online and Offline Diploma in Photography & Wedding Cinematography Courses under the guidance of Shrinivas Javanjal. Through practical outdoor shoots, studio sessions, editing workshops, and industry-focused mentoring, you’ll gain the expertise needed to succeed in every genre of photography.
Tags:
You May Also Like
-
Jul 24, 2026
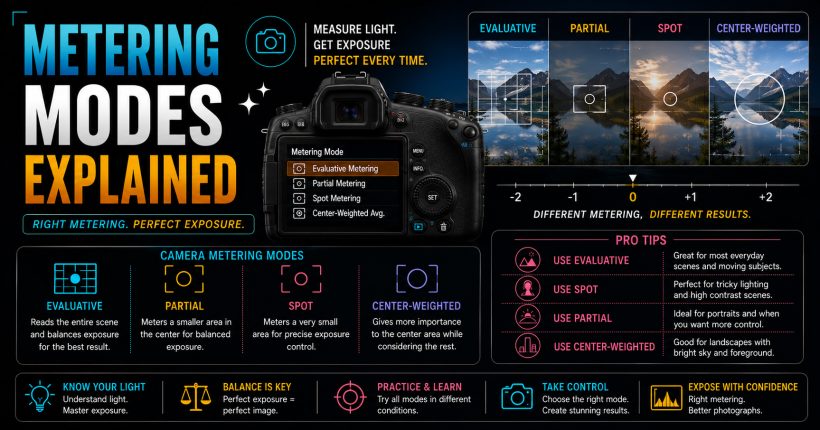
Learn camera metering modes, exposure measurement, and professional techniques to capture perfectly exposed photographs in every lighting condition with confidence.
-
Jul 24, 2026
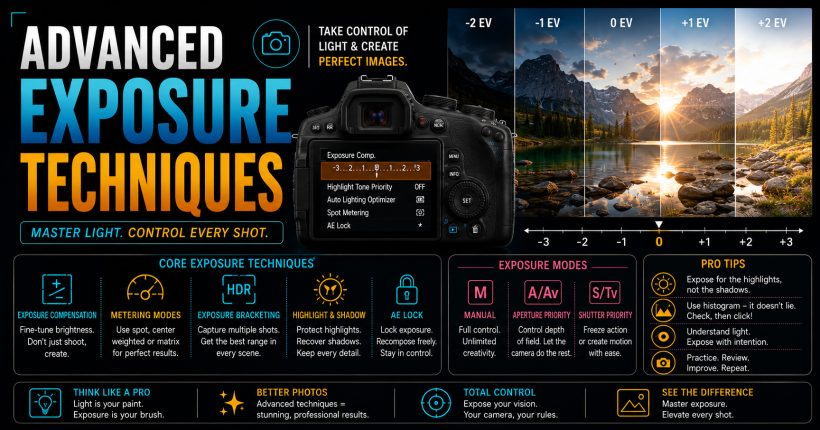
Master advanced exposure techniques using histograms, metering, exposure compensation, and bracketing to capture perfectly exposed professional-quality photographs every time.
-
Jul 24, 2026
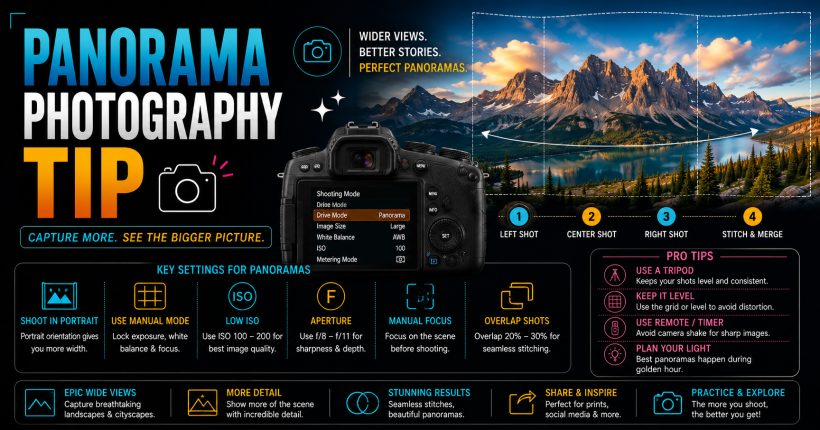
Learn panorama photography with simple camera settings, stitching techniques, and professional tips to capture breathtaking wide-angle landscapes and cityscapes effortlessly.
-
Jul 24, 2026
Learn time-lapse photography with simple camera settings, interval techniques, editing workflow, and expert tips for creating stunning cinematic videos effortlessly.
Sign up to receive our latest updates
Get in touch
Call us directly?
+91 9769533675
Address
Office No 9, First floor, Sudama Tower, Kasturi Plaza, Dombivli (E)
support@photovideocourse.com
Popular Courses

- © 2026 Sharanya Institute Of Photography All rights reserved.