
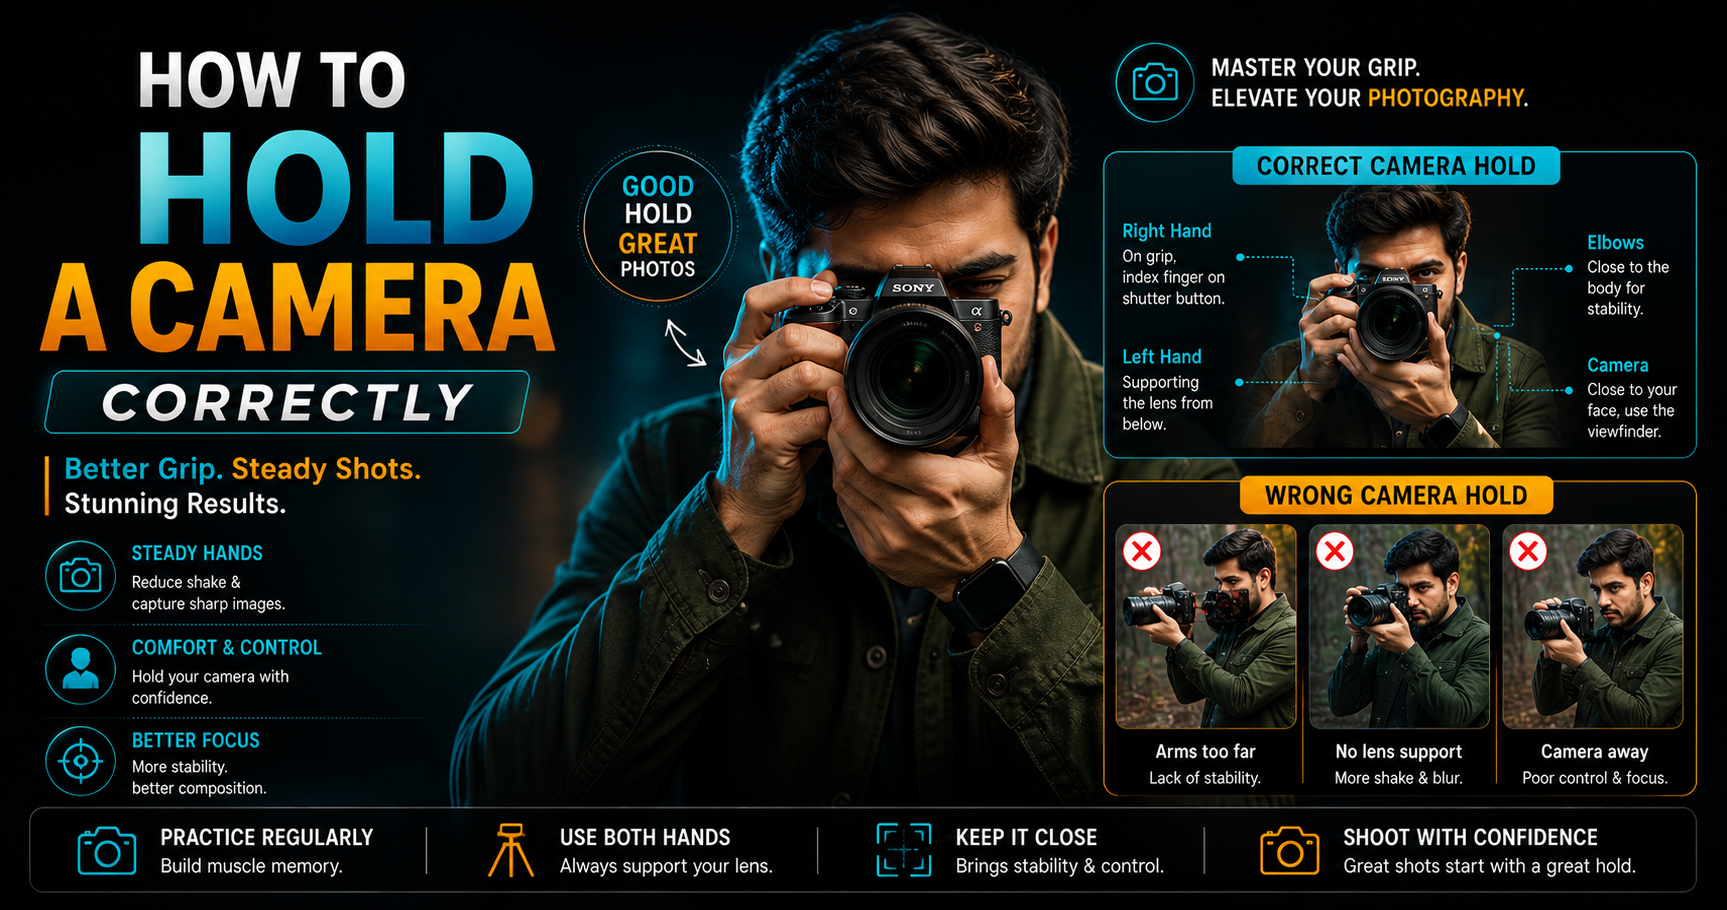
How to Hold a Camera Correctly: The Complete Beginner’s Guide (2026)
One of the biggest mistakes beginner photographers make has nothing to do with camera settings—it’s the way they hold the camera.
Even if you use an expensive DSLR or mirrorless camera, holding it incorrectly can result in blurry photos, shaky videos, and missed moments.
The good news? Learning the correct camera holding technique takes only a few minutes but can improve every photo you take.
In this guide, you’ll learn:
- Why holding your camera correctly matters
- The proper hand position
- Best standing posture
- Camera holding techniques for photography and video
- Tips for shooting in low light
- Common mistakes beginners make
- Professional tips used by photographers
Let’s get started.
Why Holding a Camera Correctly Is Important
A stable camera helps you:
- Capture sharper images
- Reduce camera shake
- Improve low-light photography
- Record smoother videos
- Focus more accurately
- Feel comfortable during long photo shoots
- Avoid unnecessary fatigue
Professional photographers know that stability is just as important as camera settings.
Step 1: Use Your Right Hand Properly
Your right hand should grip the camera body firmly—but not too tightly.
Your index finger should rest gently on the shutter button.
Your thumb should stay behind the camera to support your grip and access camera controls.
Avoid squeezing the camera too hard, as this can create unwanted movement when pressing the shutter.
Step 2: Support the Lens with Your Left Hand
This is the most important technique.
Place your left hand underneath the lens, with your palm supporting its weight.
Never hold the lens from the top or only with your fingertips.
Supporting the lens from below keeps the camera balanced and makes it easier to zoom or adjust focus.
Step 3: Keep Your Elbows Close to Your Body
Instead of stretching your arms away from your body, tuck your elbows in.
This creates a natural support system and significantly reduces camera shake.
Think of your body as a tripod.
Step 4: Stand with a Balanced Posture
Your body position affects image sharpness more than many beginners realize.
For better stability:
- Stand with your feet shoulder-width apart.
- Keep one foot slightly forward.
- Bend your knees slightly instead of locking them.
- Distribute your weight evenly.
This posture gives you better balance, especially during long shoots.
Step 5: Hold the Camera Close to Your Face
When using the viewfinder, gently press the camera against your forehead or face.
This creates a third point of contact, making the camera much more stable.
If you’re using the LCD screen, keep the camera close to your body whenever possible.
Step 6: Press the Shutter Button Gently
Many beginners accidentally shake the camera by pressing the shutter too hard.
Instead:
- Take a steady breath.
- Hold still.
- Press the shutter smoothly and gently.
A soft press helps prevent unwanted movement.
Want to Become a Professional Photographer or Cinematographer?
Holding a camera correctly is one of the first practical skills every professional learns. But becoming successful in photography requires much more than good technique.
At Sharanya Institute Of Photography, under the guidance of Shrinivas Javanjal, students receive hands-on training in camera handling, lighting, composition, posing, wedding photography, cinematography, video editing, color grading, and real client workflows.
We offer Online and Offline Diploma in Photography & Wedding Cinematography Courses, designed for beginners, hobbyists, and aspiring professionals.
If your goal is to build a career in photography, filmmaking, or editing, structured training helps you develop practical skills, confidence, and an industry-ready portfolio.
How to Hold a Camera While Walking
Walking while shooting can easily introduce shake.
Professional photographers:
- Walk slowly.
- Bend their knees slightly.
- Keep elbows close to the body.
- Move heel-to-toe smoothly.
- Hold the camera close to the chest.
These techniques improve stability for both photos and videos.
How to Hold a Camera for Portrait Photography
For portrait photography:
- Hold the camera vertically.
- Keep one hand under the lens.
- Keep elbows tucked in.
- Focus on the subject’s eyes.
- Maintain a comfortable stance.
A stable grip ensures sharp portraits, especially when using wide apertures.
How to Hold a Camera for Landscape Photography
When photographing landscapes:
- Keep the camera level.
- Hold it with both hands.
- Stand firmly.
- Use a tripod if shooting at slow shutter speeds.
A stable camera helps preserve fine details across the entire frame.
Camera Holding Tips for Low-Light Photography
Low light increases the chance of blurry images.
To improve sharpness:
- Hold the camera firmly.
- Lean against a wall or pillar if available.
- Use image stabilization if your camera or lens supports it.
- Increase shutter speed when possible.
- Use a tripod for very slow exposures.
Camera Holding Tips for Video Recording
Stable footage begins with proper body mechanics.
For smoother videos:
- Keep both hands on the camera.
- Keep elbows close to your body.
- Walk slowly with bent knees.
- Use a camera strap for extra support.
- Consider a gimbal for moving shots.
Common Camera Holding Mistakes
Avoid these beginner mistakes:
- Holding the camera with one hand.
- Supporting the lens incorrectly.
- Stretching arms too far.
- Pressing the shutter aggressively.
- Standing with poor balance.
- Looking only at the LCD from arm’s length.
- Ignoring breathing while shooting.
Correcting these habits will instantly improve your results.
Extra Professional Tips
Experienced photographers often:
- Use a neck or wrist strap for added security.
- Brace against walls, trees, or railings for extra stability.
- Time the shutter press between breaths.
- Use burst mode for moving subjects.
- Practice proper grip until it becomes natural.
These small habits make a big difference in real-world shooting.
Frequently Asked Questions (FAQs)
Why are my photos blurry even with autofocus?
Camera shake is one of the most common reasons. Improving your grip and using an appropriate shutter speed can make your images much sharper.
Should I use the viewfinder or the LCD screen?
The viewfinder generally provides more stability because the camera is supported by your face as well as your hands.
Is holding the camera correctly important for smartphones too?
Yes. The same principles—steady hands, balanced posture, and gentle shutter press—apply to smartphone photography.
Does image stabilization replace proper camera holding?
No. Image stabilization helps reduce shake, but it works best when combined with correct camera handling techniques.
Do professional photographers still practice camera handling?
Absolutely. Proper grip and posture are fundamental skills that professionals rely on every day, regardless of the camera they use.
Final Thoughts
Learning how to hold a camera correctly may seem simple, but it is one of the most valuable skills every beginner can master. A proper grip improves image sharpness, reduces camera shake, and gives you greater confidence behind the camera.
Remember, great photography is built on strong fundamentals. Before investing in expensive equipment, focus on developing the right techniques, practicing regularly, and understanding how your camera works.
If you dream of becoming a professional photographer, cinematographer, or editor, Sharanya Institute Of Photography offers comprehensive Online and Offline Diploma in Photography & Wedding Cinematography Courses. Under the expert guidance of Shrinivas Javanjal, you’ll gain practical experience, professional workflows, and the skills needed to build a successful creative career.
Tags:
You May Also Like
-
Jul 24, 2026
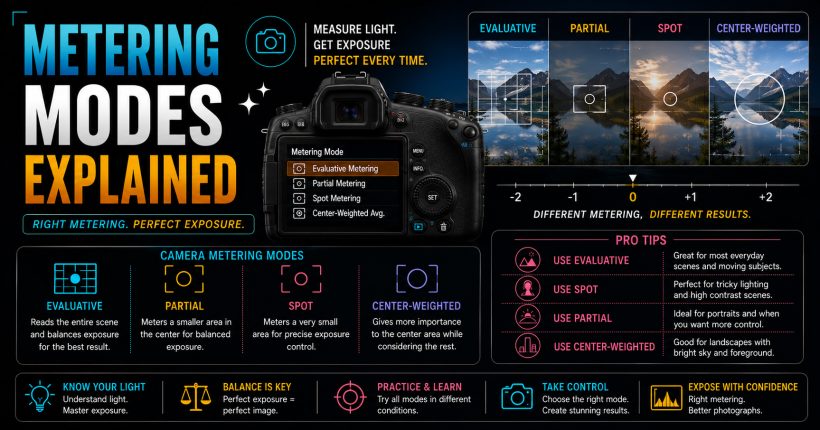
Learn camera metering modes, exposure measurement, and professional techniques to capture perfectly exposed photographs in every lighting condition with confidence.
-
Jul 24, 2026
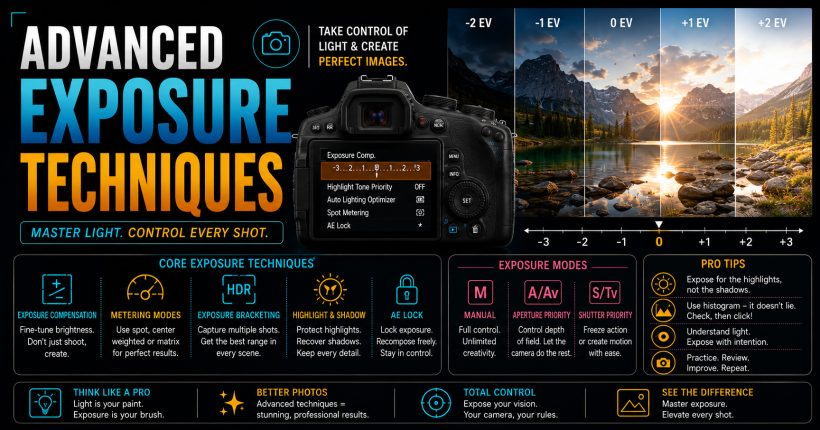
Master advanced exposure techniques using histograms, metering, exposure compensation, and bracketing to capture perfectly exposed professional-quality photographs every time.
-
Jul 24, 2026
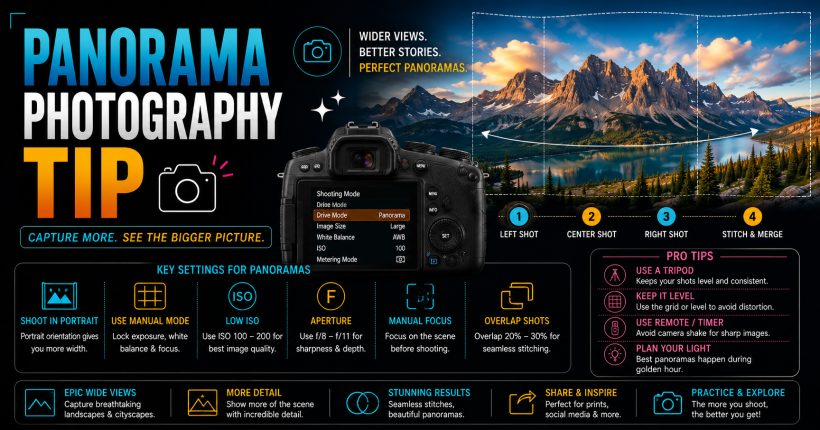
Learn panorama photography with simple camera settings, stitching techniques, and professional tips to capture breathtaking wide-angle landscapes and cityscapes effortlessly.
-
Jul 24, 2026
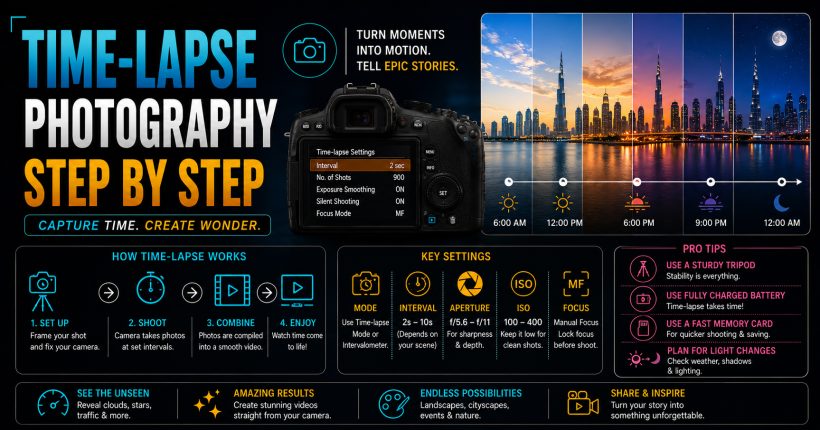
Learn time-lapse photography with simple camera settings, interval techniques, editing workflow, and expert tips for creating stunning cinematic videos effortlessly.
Sign up to receive our latest updates
Get in touch
Call us directly?
+91 9769533675
Address
Office No 9, First floor, Sudama Tower, Kasturi Plaza, Dombivli (E)
support@photovideocourse.com
Popular Courses

- © 2026 Sharanya Institute Of Photography All rights reserved.