
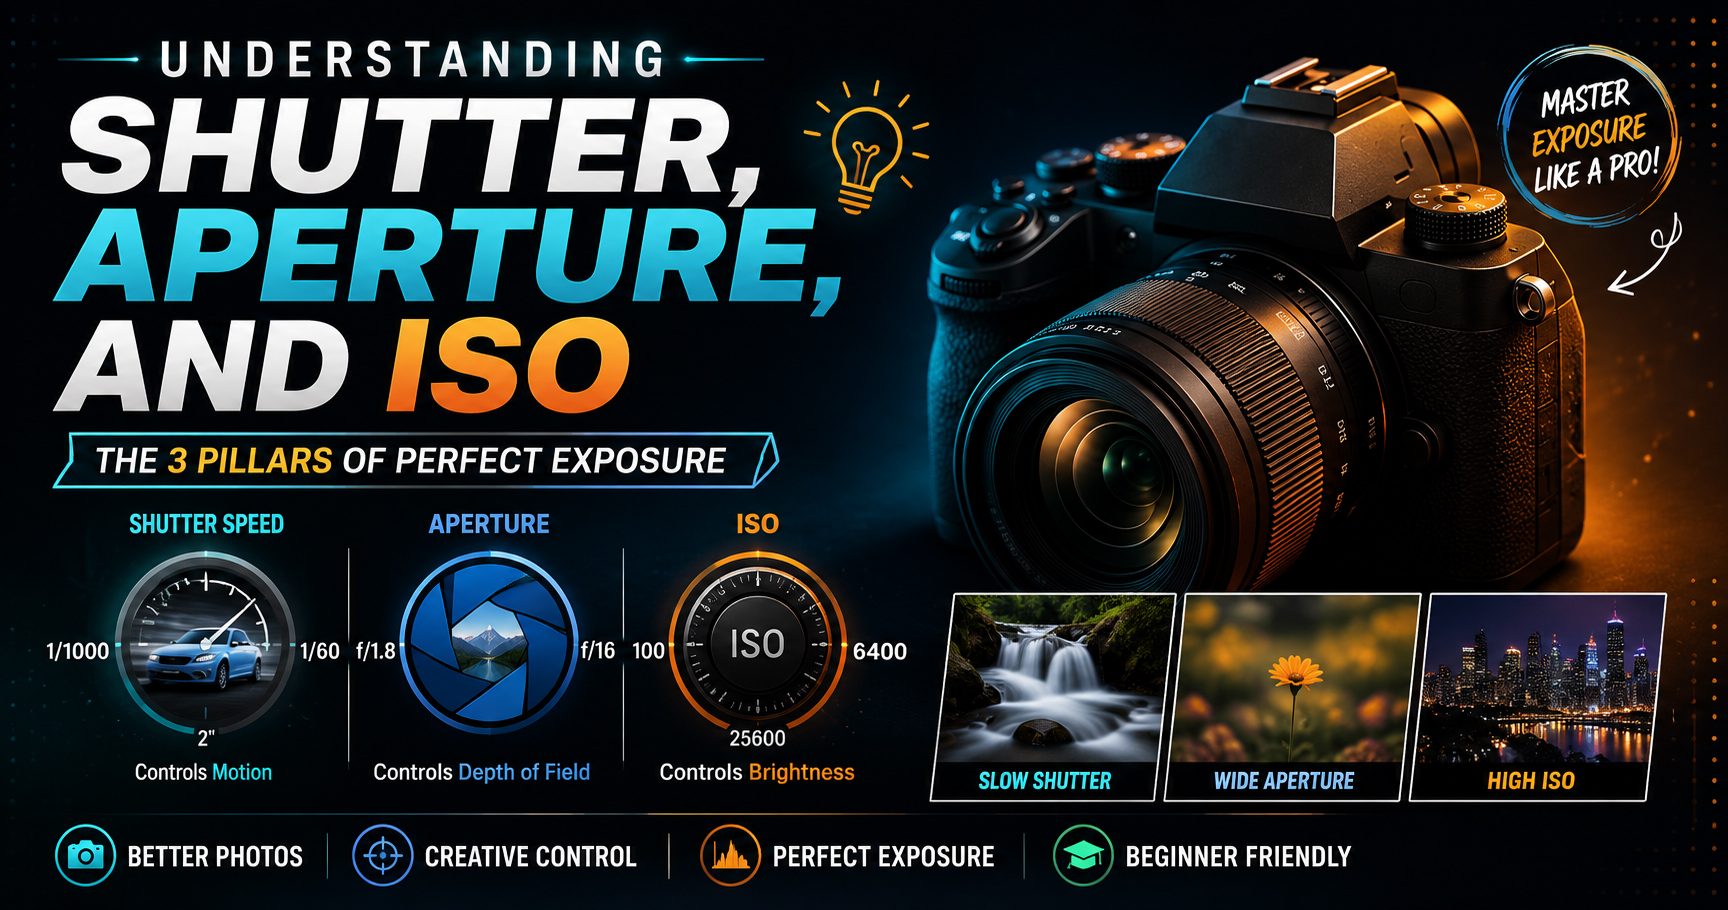
Understanding Shutter Speed, Aperture & ISO: The Complete Beginner’s Guide (2026)
If you’ve just started learning photography, you’ve probably heard photographers talk about Shutter Speed, Aperture, and ISO. These three camera settings work together to control the brightness and creative look of every photo you take.
Together, they are known as the Exposure Triangle, and understanding them is one of the biggest steps toward moving from Auto Mode to Manual Mode.
The good news? You don’t need to be a technical expert. In this guide, you’ll learn these concepts in simple language with practical examples you can apply immediately.
What Is the Exposure Triangle?
The Exposure Triangle is the relationship between:
- Shutter Speed – Controls how long the camera captures light.
- Aperture – Controls how much light enters through the lens.
- ISO – Controls the sensor’s sensitivity to light.
Changing one setting usually requires adjusting one or both of the others to maintain the correct exposure.
Think of it like filling a bucket with water:
- Aperture is the size of the tap.
- Shutter Speed is how long the tap stays open.
- ISO is how sensitive the bucket is to the amount of water received.
Mastering these three settings gives you complete creative control over your images.
What Is Shutter Speed?
Shutter Speed is the amount of time your camera’s shutter stays open to allow light to reach the image sensor.
It is measured in fractions of a second, such as:
- 1/4000 sec
- 1/1000 sec
- 1/500 sec
- 1/250 sec
- 1/125 sec
- 1/60 sec
- 1 second
- 5 seconds
- 30 seconds
How Shutter Speed Affects Your Photos
Fast Shutter Speed
A fast shutter freezes motion.
Best for:
- Sports
- Wildlife
- Birds
- Children
- Fast-moving vehicles
- Action photography
Example:
1/1000 second can freeze a flying bird or a football player in action.
Slow Shutter Speed
A slow shutter creates motion blur.
Best for:
- Waterfalls
- Rivers
- Night photography
- Fireworks
- Light trails
- Creative motion effects
Example:
A 10-second exposure can create beautiful light trails from moving traffic.
What Is Aperture?
Aperture is the opening inside the lens that controls how much light enters the camera.
It is measured using f-numbers, such as:
- f/1.4
- f/1.8
- f/2.8
- f/4
- f/5.6
- f/8
- f/11
- f/16
How Aperture Affects Your Photos
Wide Aperture (Small f-number)
Examples:
- f/1.4
- f/1.8
- f/2.8
Effects:
- More light enters the camera.
- Beautiful blurred background (bokeh).
- Shallow depth of field.
- Ideal for portraits and low-light photography.
Narrow Aperture (Large f-number)
Examples:
- f/8
- f/11
- f/16
Effects:
- Less light enters the camera.
- More of the scene remains in focus.
- Greater depth of field.
- Perfect for landscapes and architecture.
What Is ISO?
ISO controls how sensitive your camera’s sensor is to light.
Common ISO values:
- ISO 100
- ISO 200
- ISO 400
- ISO 800
- ISO 1600
- ISO 3200
- ISO 6400
How ISO Affects Image Quality
Low ISO (100–200)
- Highest image quality
- Less digital noise
- Best for daylight photography
Medium ISO (400–800)
- Good for indoor photography
- Balanced brightness
- Slight increase in noise
High ISO (1600 and above)
- Useful in low-light situations
- Brighter images
- More digital noise or grain
Use the lowest ISO possible while maintaining the desired shutter speed and aperture.
How Shutter Speed, Aperture & ISO Work Together
Imagine you’re taking a portrait outdoors.
Current settings:
- Aperture: f/2.8
- Shutter Speed: 1/500 sec
- ISO: 100
Now imagine clouds cover the sun.
Your photo becomes darker.
You can fix the exposure by:
- Slowing the shutter speed.
- Opening the aperture wider (if possible).
- Increasing the ISO.
This balance between the three settings is the heart of the Exposure Triangle.
Real-Life Camera Setting Examples
Portrait Photography
- Aperture: f/1.8–f/2.8
- Shutter Speed: 1/200 sec
- ISO: 100–400
Creates a soft background and sharp subject.
Landscape Photography
- Aperture: f/8–f/11
- Shutter Speed: 1/125 sec (or tripod for slower speeds)
- ISO: 100
Keeps the entire scene sharp.
Sports Photography
- Aperture: f/2.8–f/4
- Shutter Speed: 1/1000 sec or faster
- ISO: 400–1600
Freezes fast action.
Night Photography
- Aperture: f/2.8
- Shutter Speed: 5–30 seconds (with tripod)
- ISO: 100–800
Captures clean night scenes and light trails.
Want to Become a Professional Photographer or Cinematographer?
Understanding Shutter Speed, Aperture, and ISO is the foundation of professional photography. However, mastering these settings requires practical experience, guided exercises, and real-world shooting.
At Sharanya Institute Of Photography, led by Shrinivas Javanjal, students don’t just learn camera theory—they practice it through live assignments, portrait sessions, wedding shoots, studio lighting, cinematography projects, and editing workflows.
Our Online and Offline Diploma in Photography & Wedding Cinematography Courses are designed for beginners who want to build a successful career in photography, cinematography, and editing. From camera handling to post-production, you’ll gain the practical skills needed to work confidently in the creative industry.
Common Beginner Mistakes
Avoid these common mistakes:
- Keeping ISO unnecessarily high in daylight.
- Using a slow shutter speed while handholding the camera.
- Shooting every photo at the widest aperture without considering depth of field.
- Relying only on Auto Mode.
- Ignoring how the three settings affect each other.
Learning from these mistakes will improve your photography much faster.
Tips to Master Manual Mode
- Practice in different lighting conditions.
- Change only one setting at a time to see its effect.
- Review your photos and camera settings after every shoot.
- Use Histogram and Exposure Compensation when needed.
- Challenge yourself to shoot in Manual Mode regularly.
Consistency is the key to confidence.
Frequently Asked Questions (FAQs)
Which setting should I adjust first?
It depends on your creative goal. If you need to freeze action, adjust shutter speed first. For background blur, start with aperture. For low-light situations, adjust ISO only after optimizing the other settings.
Is high ISO always bad?
No. A slightly noisy photo is usually better than a blurry one. Modern cameras handle higher ISO values much better than older models.
Can I learn photography without Manual Mode?
Yes, but Manual Mode gives you greater creative control and helps you understand how your camera works.
What is the best ISO for beginners?
Start with ISO 100 in daylight and increase it only when additional brightness is needed.
Why is the Exposure Triangle important?
Because it helps you control brightness, sharpness, motion, and depth of field—all essential elements of professional photography.
Final Thoughts
Shutter Speed, Aperture, and ISO are the three most important camera settings every photographer should understand. Once you learn how they work together, you’ll move beyond Auto Mode and begin creating images with purpose and creativity.
Don’t try to memorize every number. Instead, practice regularly, experiment with different settings, and observe how each change affects your photos. Over time, these adjustments will become second nature.
If you’re serious about becoming a professional photographer, cinematographer, or editor, Sharanya Institute Of Photography offers comprehensive Online and Offline Diploma in Photography & Wedding Cinematography Courses. Under the expert guidance of Shrinivas Javanjal, you’ll gain hands-on experience, master professional camera techniques, and build the confidence to turn your passion into a rewarding career.
Tags:
You May Also Like
-
Jul 24, 2026
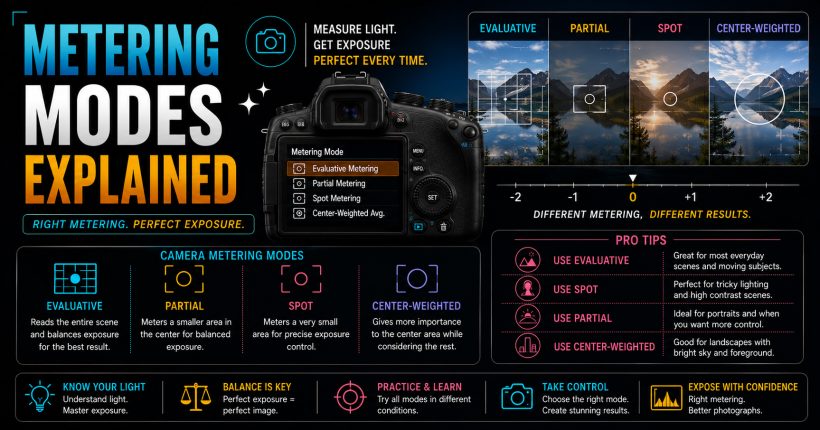
Learn camera metering modes, exposure measurement, and professional techniques to capture perfectly exposed photographs in every lighting condition with confidence.
-
Jul 24, 2026
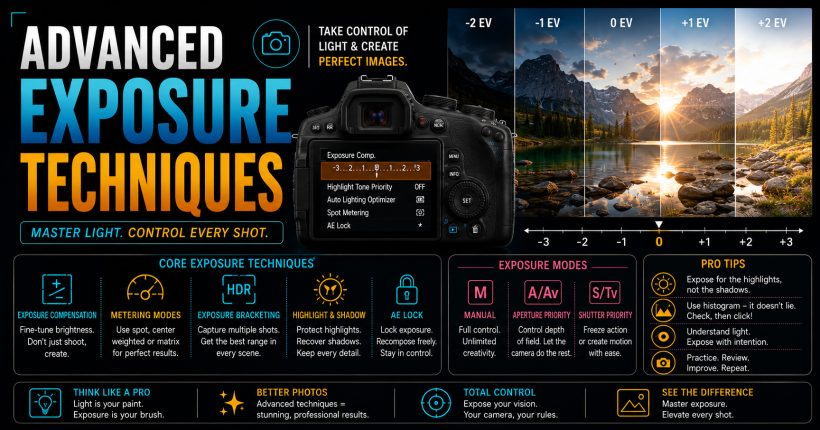
Master advanced exposure techniques using histograms, metering, exposure compensation, and bracketing to capture perfectly exposed professional-quality photographs every time.
-
Jul 24, 2026
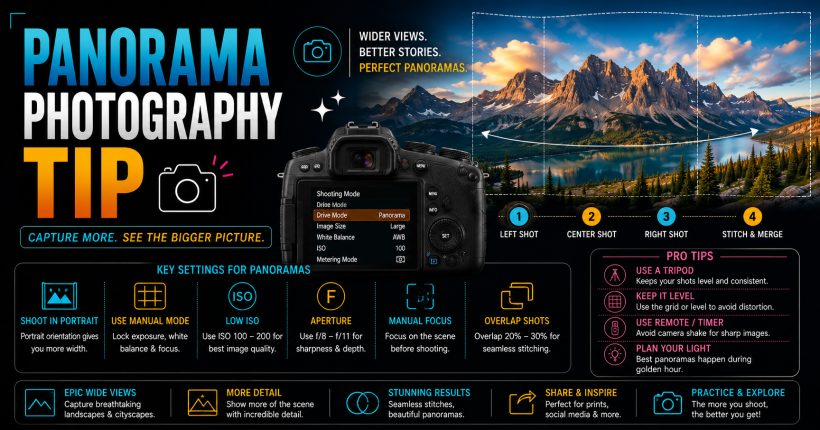
Learn panorama photography with simple camera settings, stitching techniques, and professional tips to capture breathtaking wide-angle landscapes and cityscapes effortlessly.
-
Jul 24, 2026
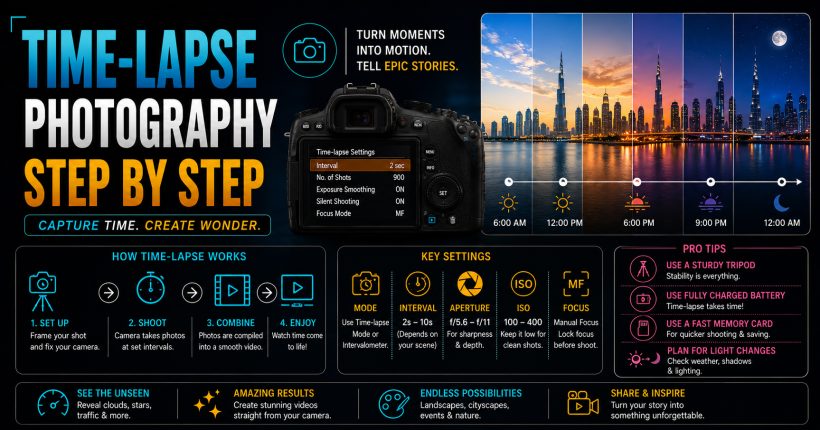
Learn time-lapse photography with simple camera settings, interval techniques, editing workflow, and expert tips for creating stunning cinematic videos effortlessly.
Sign up to receive our latest updates
Get in touch
Call us directly?
+91 9769533675
Address
Office No 9, First floor, Sudama Tower, Kasturi Plaza, Dombivli (E)
support@photovideocourse.com
Popular Courses

- © 2026 Sharanya Institute Of Photography All rights reserved.