
How to Shoot in Manual Mode Like a Professional (Complete 2026 Guide)
Have you ever wondered how professional photographers capture perfectly exposed, sharp, and creative photos in any lighting condition?
The answer is simple—they know how to use Manual Mode (M Mode).
Many beginners stay in Auto Mode because they’re afraid of making mistakes. While Auto Mode is useful for quick snapshots, it limits your creativity and often struggles in difficult lighting.
Manual Mode gives you complete control over your camera, allowing you to create images exactly the way you imagine them.
In this guide, you’ll learn:
- What Manual Mode is
- Why professionals use it
- How to set your camera step by step
- The best settings for different photography styles
- Common beginner mistakes
- Professional shooting tips
- How to practice Manual Mode with confidence
Let’s begin your journey toward professional photography.
What Is Manual Mode?
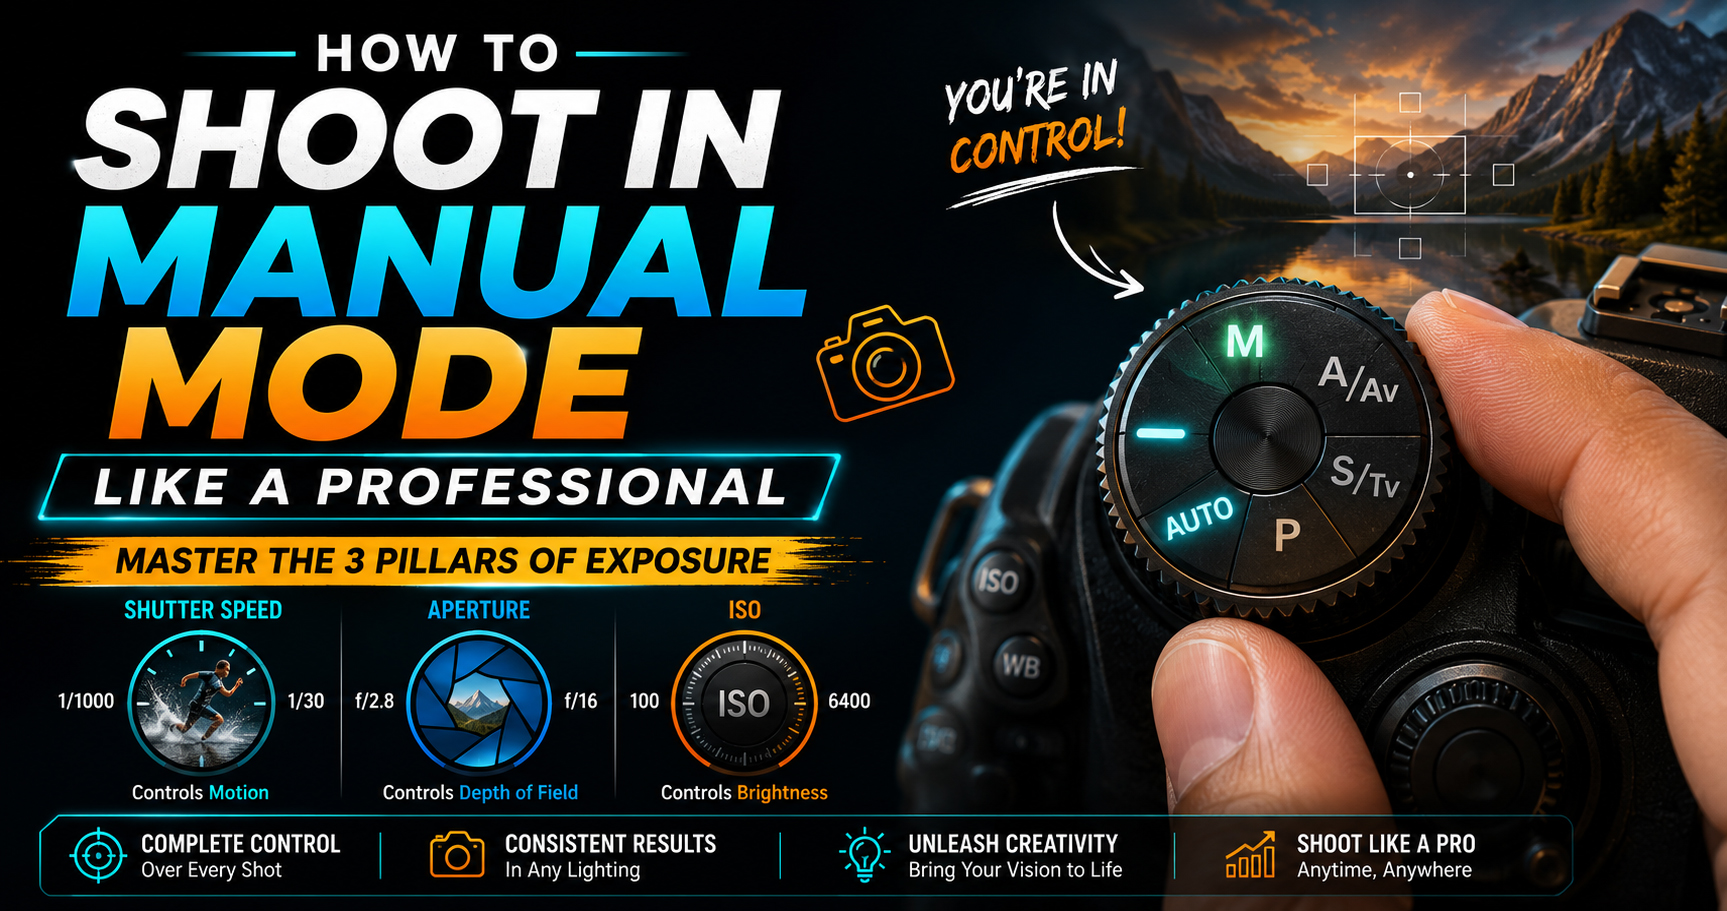
Manual Mode (M) is a camera setting that lets you control the three most important exposure settings:
- Shutter Speed – Controls motion and the amount of light reaching the sensor.
- Aperture – Controls the amount of light entering the lens and the depth of field.
- ISO – Controls the camera sensor’s sensitivity to light.
Unlike Auto Mode, the camera doesn’t make exposure decisions for you. This gives you complete creative freedom.
Why Do Professional Photographers Use Manual Mode?
Professional photographers work in changing lighting conditions where Auto Mode can produce inconsistent results.
Manual Mode helps them:
- Maintain consistent exposure.
- Create beautiful background blur.
- Freeze or blur motion intentionally.
- Handle difficult lighting.
- Produce consistent images during weddings and events.
- Achieve a signature creative style.
Whether you’re photographing a wedding, wildlife, portraits, or landscapes, Manual Mode gives you predictable and repeatable results.
Step 1: Switch Your Camera to Manual Mode
Turn the camera’s Mode Dial to M.
Once selected, you’ll be able to adjust:
- Shutter Speed
- Aperture
- ISO
These three settings work together to create the correct exposure.
Step 2: Set the ISO First
Start with the lowest ISO possible.
Recommended starting points:
| Lighting Condition | ISO |
|---|---|
| Bright Daylight | 100 |
| Cloudy Weather | 200–400 |
| Indoor Lighting | 400–800 |
| Low Light | 800–3200 (or higher if needed) |
Lower ISO produces cleaner images with less digital noise.
Step 3: Choose the Right Aperture
Aperture controls both light and depth of field.
Portrait Photography
- f/1.8
- f/2
- f/2.8
Creates a soft, blurred background that highlights your subject.
Landscape Photography
- f/8
- f/11
- f/16
Keeps more of the scene in sharp focus.
Product Photography
- f/8 to f/11
Provides greater detail across the subject.
Step 4: Adjust Shutter Speed
Shutter Speed controls how motion appears.
Freeze Motion
- 1/500 sec
- 1/1000 sec
- 1/2000 sec
Best for sports, wildlife, and children.
Everyday Photography
- 1/125 sec
- 1/250 sec
Suitable for portraits and street photography.
Motion Blur
- 1 second
- 5 seconds
- 30 seconds
Ideal for waterfalls, traffic light trails, and creative effects.
Step 5: Check the Exposure Meter
Inside your camera’s viewfinder or LCD screen, you’ll see an Exposure Meter.
- 0 = Correct exposure
- – = Underexposed (too dark)
- + = Overexposed (too bright)
Adjust Shutter Speed, Aperture, or ISO until the exposure matches your creative intent.
Remember: Sometimes an intentionally brighter or darker exposure creates a stronger image.
Step 6: Focus Correctly
Manual exposure doesn’t mean manual focus.
For most situations, use autofocus modes such as:
- AF-S / One Shot – Still subjects
- AF-C / AI Servo – Moving subjects
- Eye Detection AF – Portraits
Accurate focus is just as important as correct exposure.
Step 7: Review and Adjust
Professional photographers rarely rely on a single shot.
After taking a photo:
- Zoom in to check sharpness.
- Review the histogram if available.
- Check highlights and shadows.
- Make small adjustments.
- Shoot again.
Learning comes from reviewing your results.
Learn Manual Mode with Professional Guidance
Manual Mode is one of the most valuable skills in photography, but reading about it is only the first step. The fastest way to master it is through guided practice in real shooting situations.
At Sharanya Institute Of Photography, under the mentorship of Shrinivas Javanjal, students learn Manual Mode through practical assignments, outdoor shoots, studio sessions, wedding photography, cinematography projects, lighting setups, and editing workflows.
We offer Online and Offline Diploma in Photography & Wedding Cinematography Courses for beginners and aspiring professionals. Our training focuses on real-world techniques that prepare students for freelance work, studio careers, weddings, commercial projects, and content creation.
If you’re serious about becoming a professional photographer, cinematographer, or editor, structured learning can help you progress much faster than trial and error alone.
Best Manual Mode Settings for Different Photography Styles
Portrait Photography
- Aperture: f/1.8–f/2.8
- Shutter Speed: 1/200 sec
- ISO: 100–400
Wedding Photography
- Aperture: f/2–f/4
- Shutter Speed: 1/250 sec
- ISO: 400–1600
Landscape Photography
- Aperture: f/8–f/11
- Shutter Speed: Depends on lighting
- ISO: 100
Wildlife Photography
- Aperture: f/4–f/5.6
- Shutter Speed: 1/1000 sec or faster
- ISO: Auto or 400–1600
Street Photography
- Aperture: f/5.6
- Shutter Speed: 1/250 sec
- ISO: 100–400
Night Photography
- Aperture: f/2.8
- Shutter Speed: 5–30 seconds (with tripod)
- ISO: 100–800
Common Beginner Mistakes
Avoid these common errors:
- Forgetting to reset ISO after low-light shooting.
- Using a shutter speed that’s too slow while handholding the camera.
- Always shooting at the widest aperture.
- Ignoring the exposure meter.
- Relying on the LCD brightness instead of checking the histogram.
- Changing multiple settings at once, making it hard to understand the effect of each adjustment.
Professional Tips to Master Manual Mode Faster
- Practice in different lighting conditions every week.
- Photograph the same subject using different settings.
- Shoot in RAW for greater editing flexibility.
- Learn to read the histogram.
- Use Exposure Compensation in semi-automatic modes when appropriate.
- Keep notes of successful settings for future reference.
- Review your images after every shoot and identify what worked well.
Frequently Asked Questions (FAQs)
Is Manual Mode difficult to learn?
Not at all. Once you understand the relationship between Shutter Speed, Aperture, and ISO, Manual Mode becomes much easier with practice.
Should beginners use Manual Mode?
Yes. Even if you don’t use it all the time, practicing Manual Mode helps you understand how your camera works and improves your photography skills.
Can I shoot weddings in Manual Mode?
Yes. Most professional wedding photographers use Manual Mode because it provides consistent exposure in changing lighting conditions.
What is the best ISO for Manual Mode?
Use the lowest ISO that allows you to achieve the shutter speed and aperture you need. Lower ISO generally produces cleaner images.
Is Manual Mode better than Auto Mode?
Manual Mode offers greater creative control and consistency, while Auto Mode is better for quick snapshots or situations where speed is more important than customization.
Final Thoughts
Learning Manual Mode is one of the biggest milestones in your photography journey. It transforms you from someone who relies on the camera to someone who controls the creative outcome.
Don’t worry if your first attempts aren’t perfect. Every professional photographer learned through experimentation, mistakes, and consistent practice.
Start with simple subjects, practice regularly, and focus on understanding how Shutter Speed, Aperture, and ISO work together. With time, you’ll be able to adjust your camera instinctively and capture images with confidence in any situation.
If your goal is to become a professional photographer, cinematographer, or editor, Sharanya Institute Of Photography provides Online and Offline Diploma in Photography & Wedding Cinematography Courses. Under the guidance of Shrinivas Javanjal, you’ll gain hands-on experience, master professional techniques, and develop the skills needed to build a successful creative career.
Tags:
You May Also Like
-
Jul 24, 2026
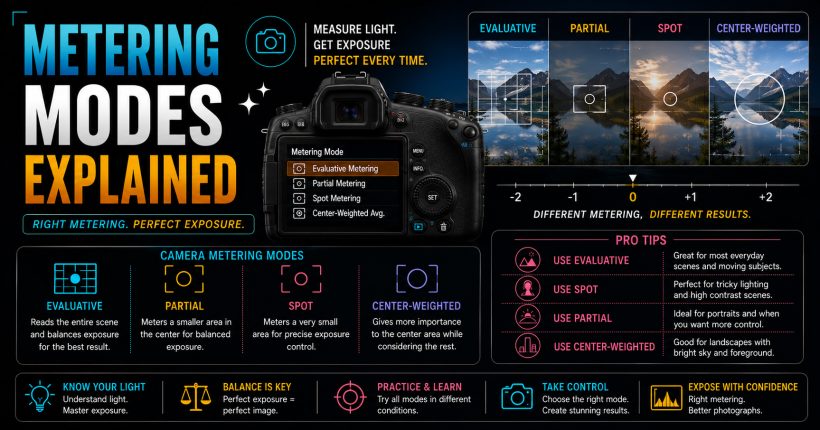
Learn camera metering modes, exposure measurement, and professional techniques to capture perfectly exposed photographs in every lighting condition with confidence.
-
Jul 24, 2026
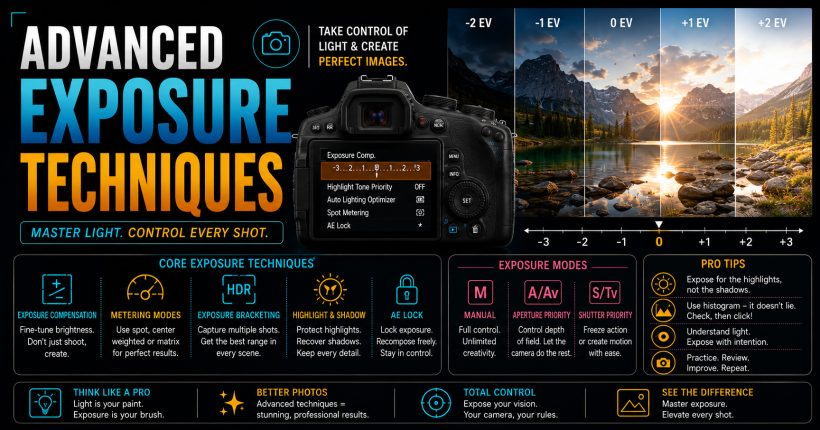
Master advanced exposure techniques using histograms, metering, exposure compensation, and bracketing to capture perfectly exposed professional-quality photographs every time.
-
Jul 24, 2026
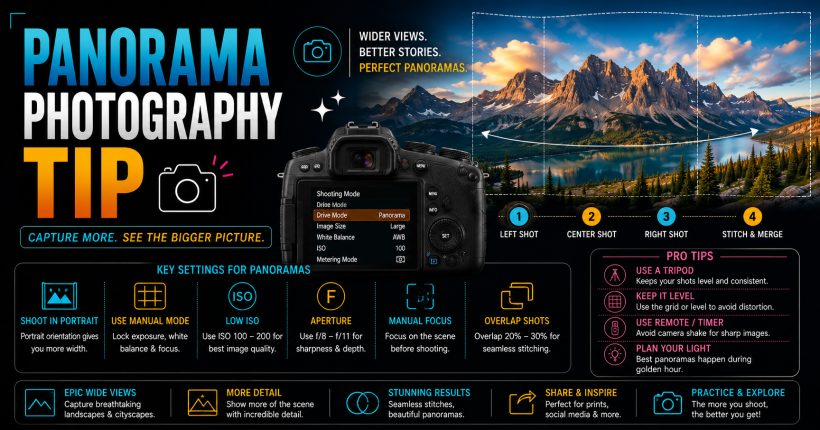
Learn panorama photography with simple camera settings, stitching techniques, and professional tips to capture breathtaking wide-angle landscapes and cityscapes effortlessly.
-
Jul 24, 2026
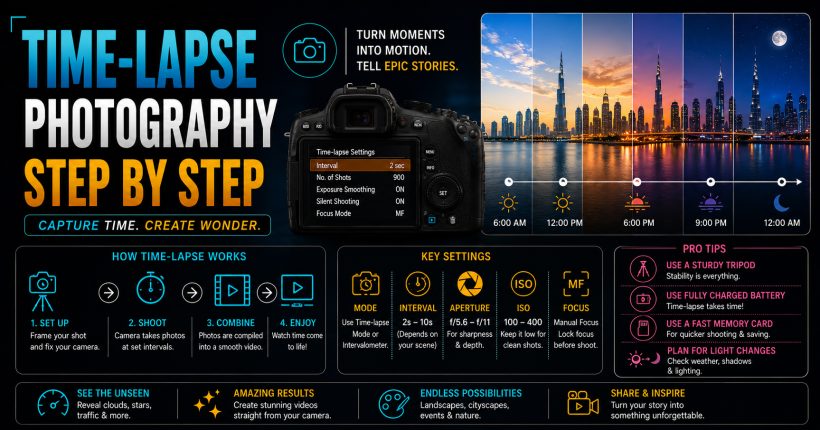
Learn time-lapse photography with simple camera settings, interval techniques, editing workflow, and expert tips for creating stunning cinematic videos effortlessly.
Sign up to receive our latest updates
Get in touch
Call us directly?
+91 9769533675
Address
Office No 9, First floor, Sudama Tower, Kasturi Plaza, Dombivli (E)
support@photovideocourse.com
Popular Courses

- © 2026 Sharanya Institute Of Photography All rights reserved.